
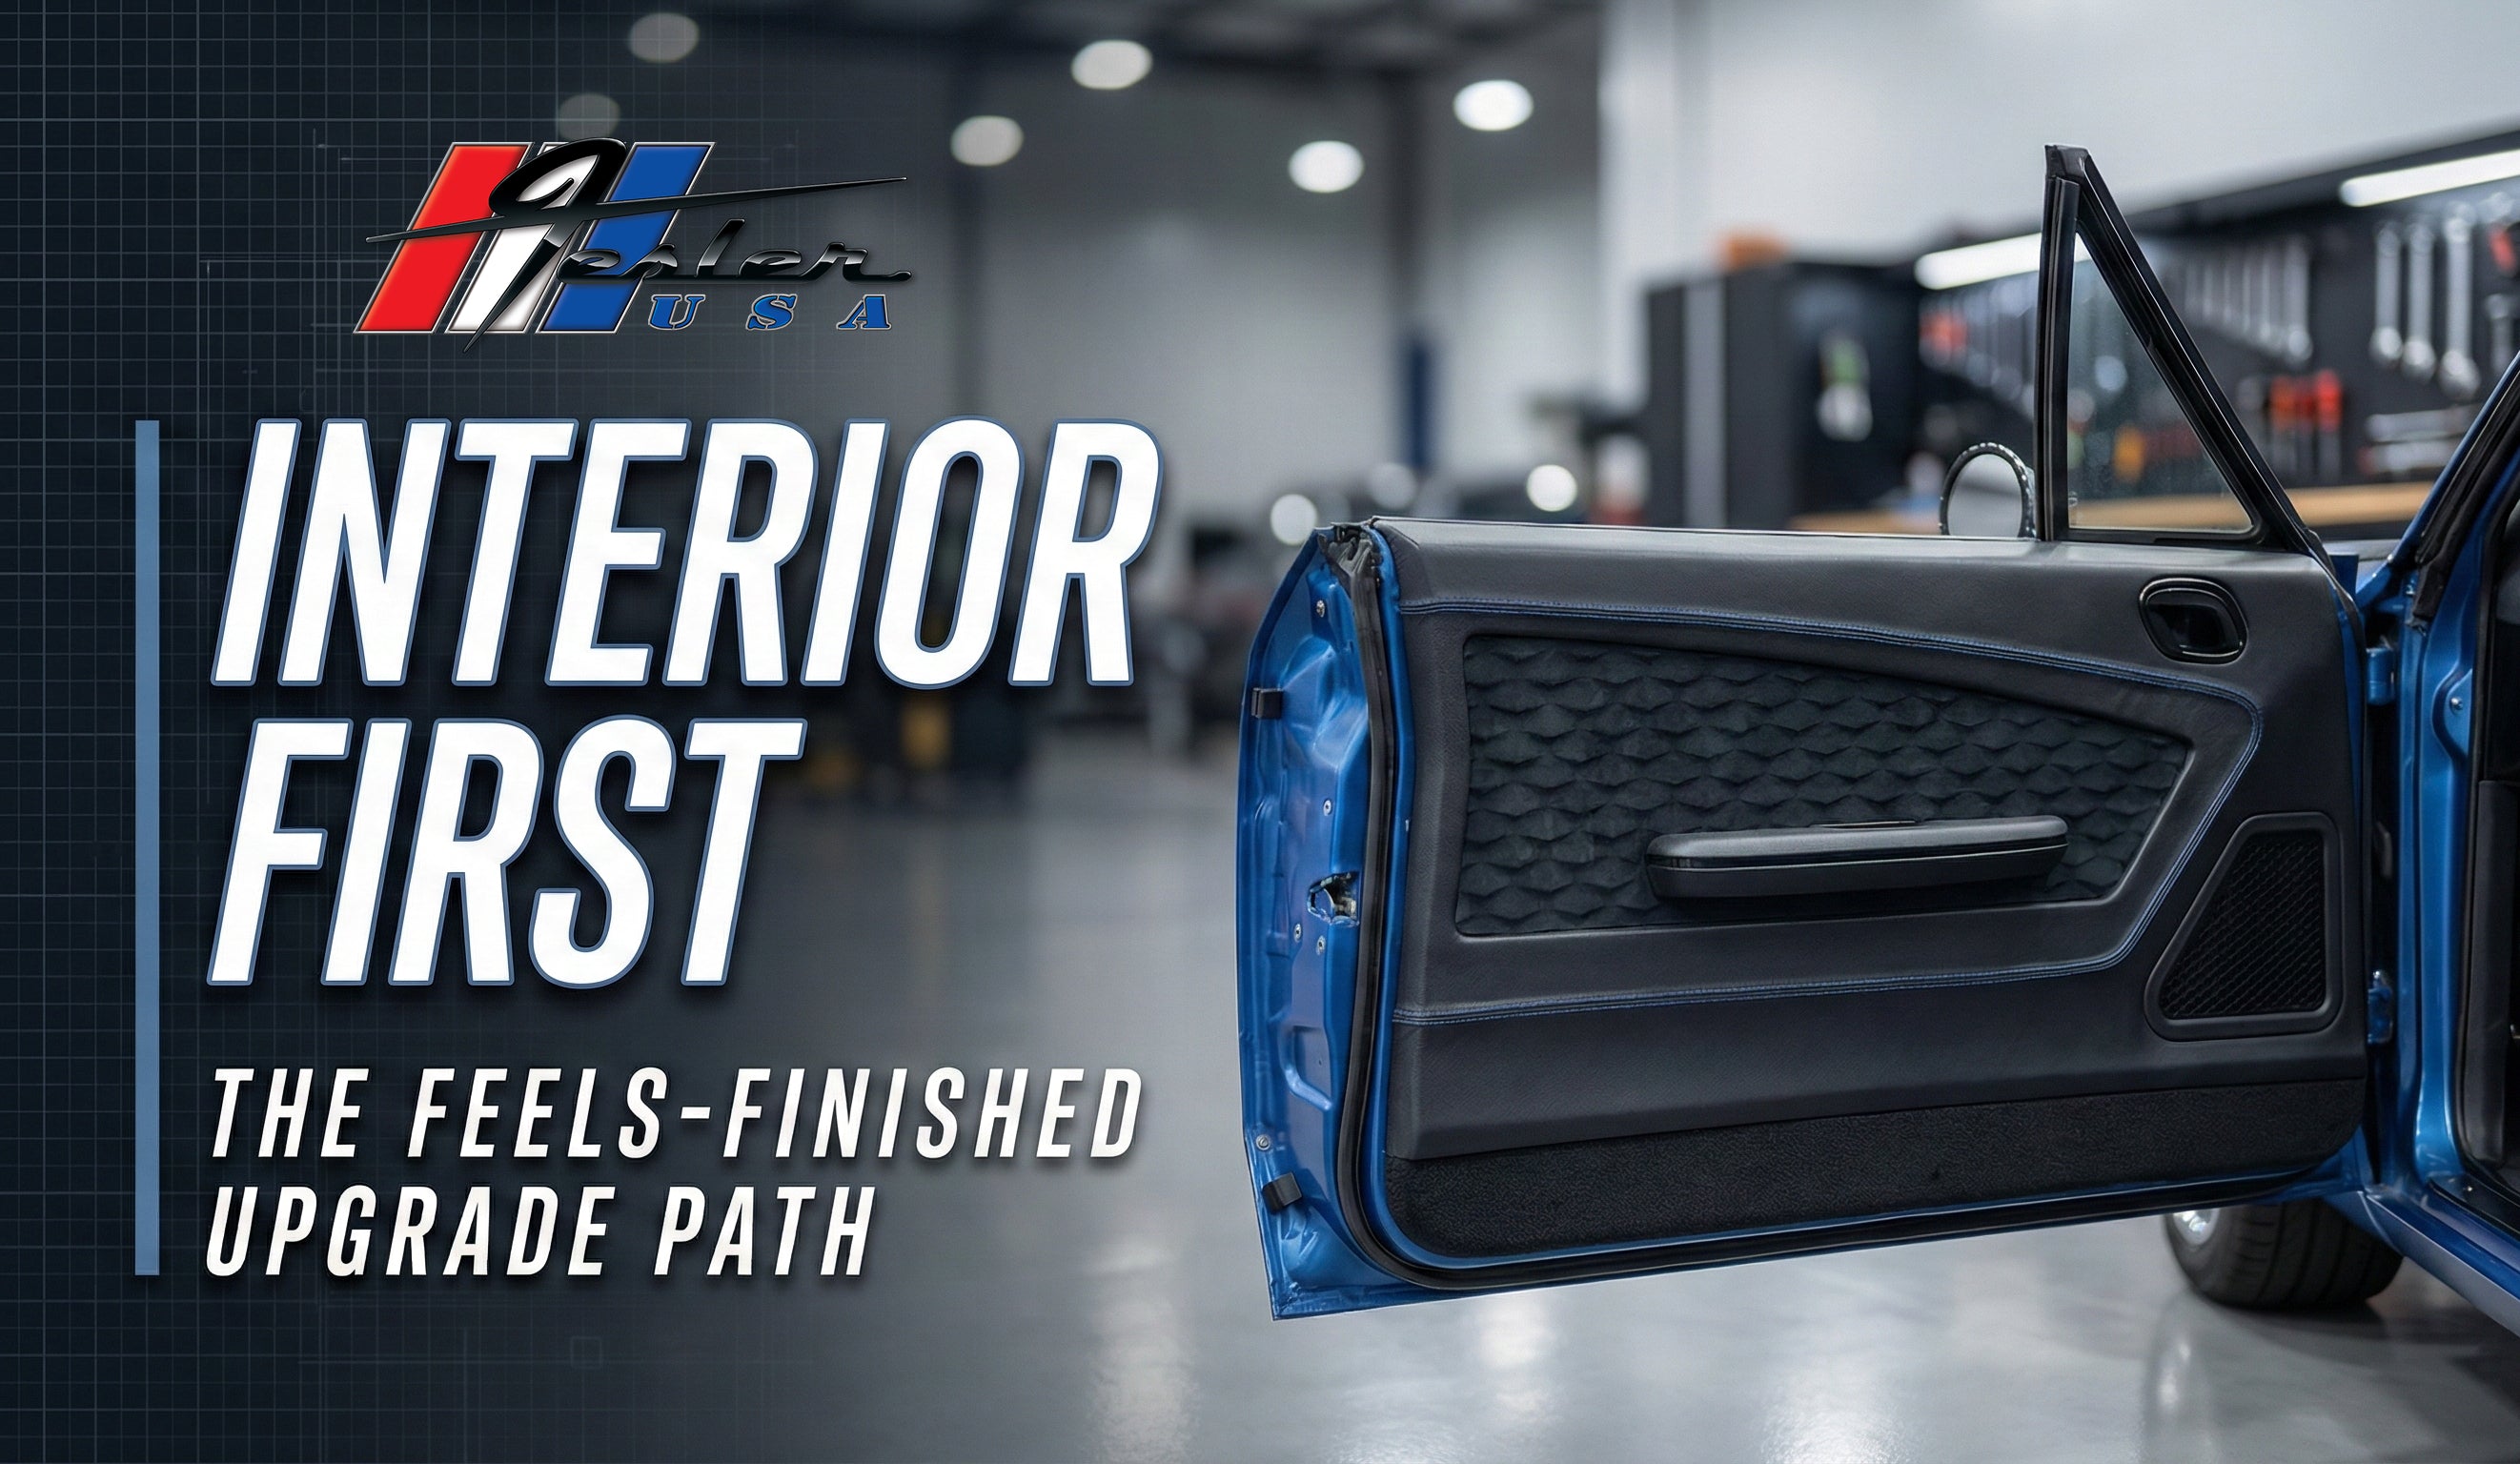
Dash Planning 101: How to Get a Tesla-Clean Dash in a Classic (Without Regret)
Every builder has felt it: the car looks finished, the stance is right, paint is on point, then you sit down and the dash feels like a science project. Nothing is where your hands expect it, vents are an afterthought, the screen looks tacked on, and switches end up in whatever open spot was left.
No shame. This happens because the dash is usually planned too late.
If you want a modern, clean, Tesla-inspired layout inside a classic, the goal is not to copy Tesla parts. The goal is to copy the discipline: fewer decisions left to chance, fewer visual interruptions, and everything placed with intent.
What “Tesla-clean” actually means (in a classic)
- Simple visual hierarchy: one focal point (screen or cluster), everything else supports it.
- Clear zones: driving info, climate, and controls each live in a predictable place.
- Minimal clutter: switches and accessories do not fight each other for attention.
- Serviceable: clean does not mean sealed forever. You still need access.
Clean is not about removing everything. Clean is about making decisions early so your dash does not become a patchwork later.
The Fesler dash planning sequence
Rule: Plan the dash before upholstery is final and before you lock the wiring and HVAC routing.
Step 1: Pick your “main focal point”
Decide what the driver sees first. For most modern builds, it is one of these:
- Screen-first: a clean center display with simplified supporting controls.
- Cluster-first: strong gauge cluster, minimal center distractions.
- Balanced: cluster plus a clean center screen that looks intentional.
If you do not pick a focal point, your dash becomes a collection of separate purchases.
Step 2: Lock your control zones
Before you choose parts, define three zones:
- Eyes-up zone: speed, RPM, warning indicators, turn signals. This must be readable fast.
- Reach zone: the controls you use constantly, lights, wipers, defrost, hazards.
- Secondary zone: things you use occasionally, accessories, air ride, extra lighting, USB.
This is how you prevent the classic “switch sprawl.”
Step 3: Decide vents and HVAC early (seriously)
Vents are not decoration. They require packaging, duct routing, and clearance. If you plan the dash first but ignore HVAC, you will compromise the layout later.
- Vent placement: symmetrical, intentional, and functional.
- Duct routing: confirm you can route ducts without crushing wiring paths.
- Defrost strategy: make sure windshield defrost is not an afterthought.
Step 4: Build a “wiring map” before anything becomes final
This is where clean builds separate from frustrating builds. A modern dash needs wiring discipline:
- Service loops for screens and clusters so you can pull them without yanking harnesses.
- Module placement that is accessible, not buried behind finished panels.
- Ground strategy that is consistent and avoids chasing gremlins.
If you want that Tesla-clean feel, this is the unglamorous part that makes it real.
Step 5: Choose your components with the plan already decided
Once you have the layout, then you select components that support it. Your options typically fall into these buckets:
- Modern screens (clean center integration, visibility, minimal bezel look).
- Digital gauge clusters (readability, lighting, clean face design).
- Switch panels (limited, intentional, and located where your hand expects).
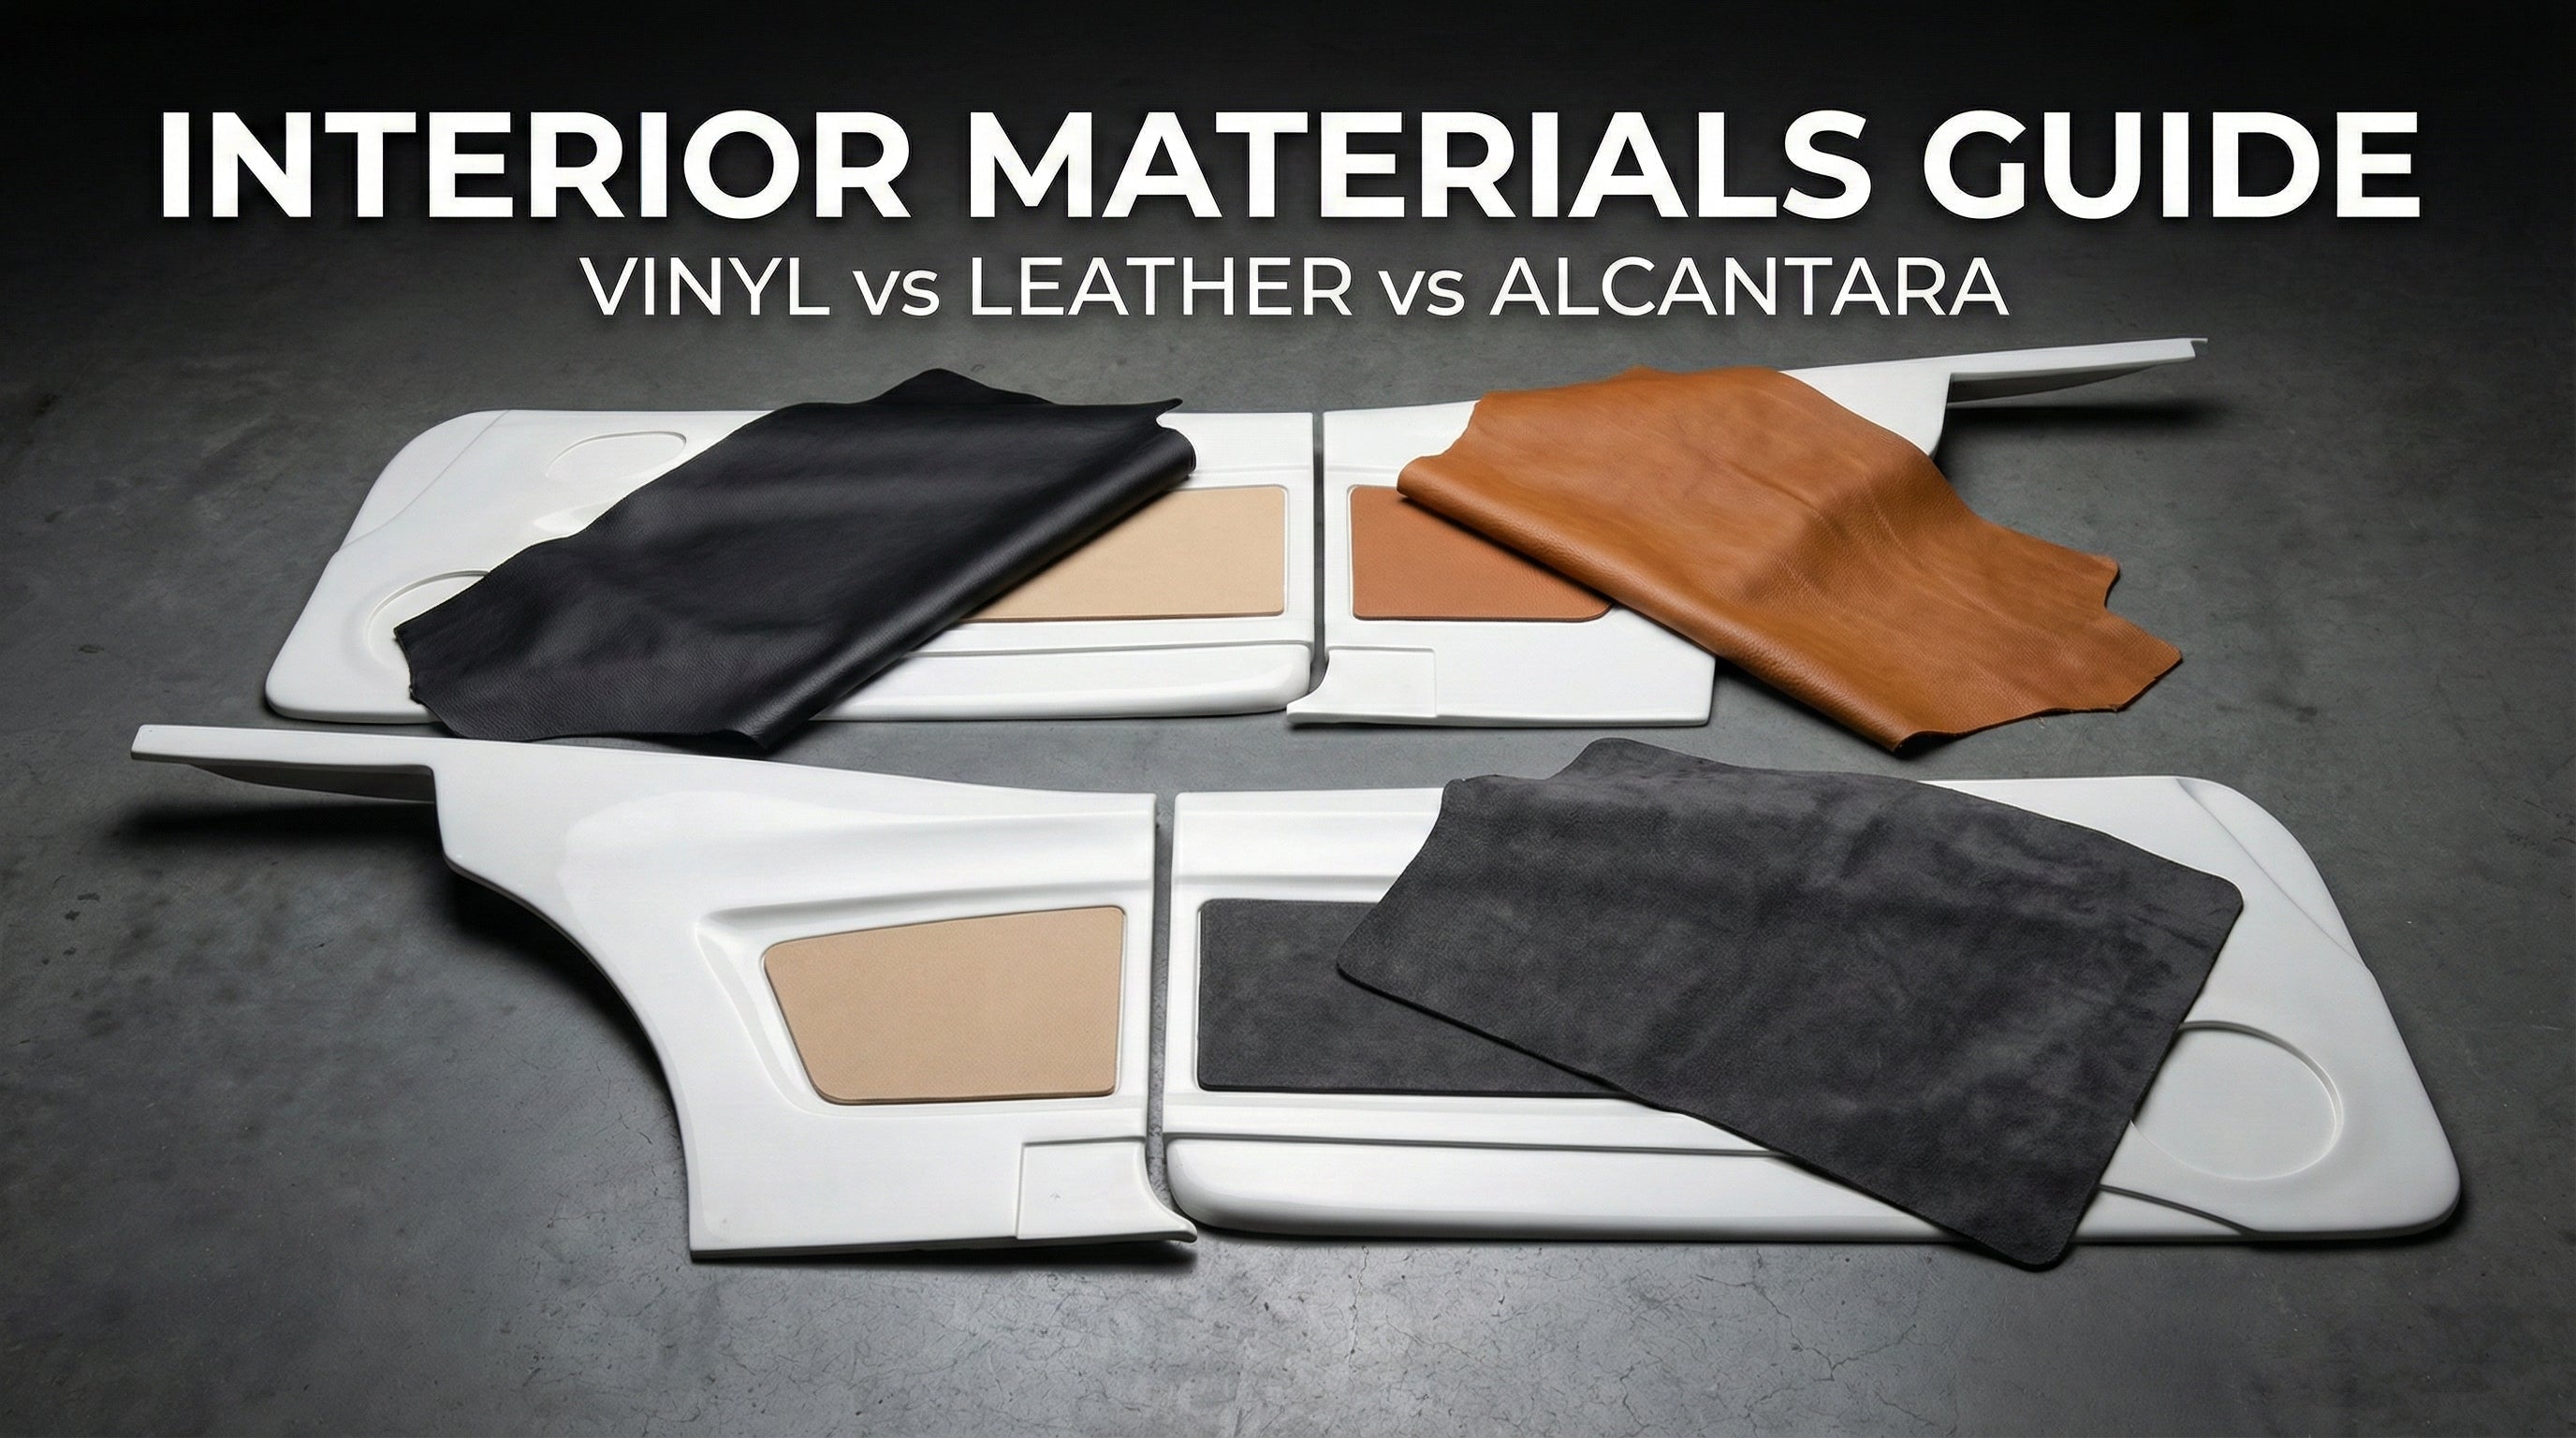
- Trim and finish pieces (the parts that make it look designed, not assembled).
Common mistakes (and how to avoid them)
- Buying the screen first and then trying to design the dash around it.
- Ignoring HVAC until the end, then cutting or relocating things.
- Switch overload because no one decided what belongs in the reach zone.
- No service plan, which makes future repairs a nightmare.
Builder truth: The dash does not look “clean” by accident. It looks clean because the plan was locked early.
How Fesler helps you get it right
Fesler interiors are built for builders who care about fitment, mounting, and finish. Dash planning is the same mindset: clean layout, clean execution, and a result that feels intentional every time you drive.
If you are planning a modern dash layout and want help sanity-checking the plan, send us:
- Your platform (C10, Camaro, Chevelle, Impala, etc.)
- Your one sentence goal (example: “Tesla-clean, minimal switches, modern HVAC, daily-driver friendly”)
- Any photos or sketches you have
Shop Fesler Interior Ask our team
Quick FAQ
Can I get a modern dash look without making the car feel “too new”?
Yes. The modern feel comes from layout discipline, not from deleting all classic character. You can keep classic lines while making the controls and screens feel intentional.
When is the best time to finalize the dash plan?
Before upholstery is final, and before wiring and HVAC are locked. That is the window where planning saves you from rework.
What is the number one thing that ruins a dash?
Buying parts before the layout is decided. When the plan comes first, the parts support it and everything looks designed.
Plan it once. Build it clean. Drive it happy.
Leave a comment
This site is protected by hCaptcha and the hCaptcha Privacy Policy and Terms of Service apply.