FESLER USA • BUILD PLANNING
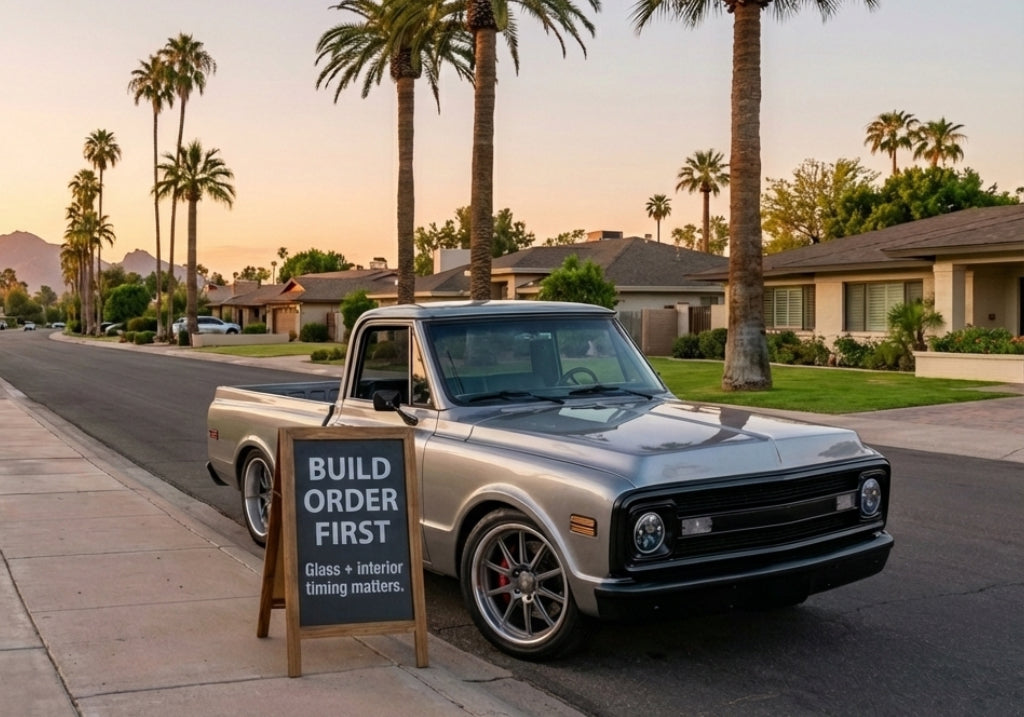
The 2026 Build Order: What To Buy First (So You Don’t Pay Twice)
If you’ve ever rebuilt something twice because another step happened later (paint got scratched, glass didn’t fit, wiring had to be torn back out), you already know the truth: the order matters as much as the parts.
This guide is written from a Fesler-first perspective: we prioritize the products that prevent rework and protect the finish, like flush-mount glass, seals, interior upgrades, and trusted brands like Dakota Digital. Use this sequence to keep the build moving, avoid backtracking, and stop paying for labor twice.
Start here (Fesler links)
If one of these links ever changes, keep the intent the same: prioritize glass, seals, and dash planning early.
TLDR: Buy the parts that control fitment before the parts that decorate the build. In most 2026 builds, that means planning glass + seals and your dash + gauges before you spend big on finished interior.
Why build order decides whether your build feels “high-end”
Most build pain comes from installing something exciting before the foundation work is complete. The foundation is not glamorous: rust repair, panel alignment, bodywork, paint prep, and making sure openings and gaps are correct. But foundation work dictates everything that follows, especially glass fitment and interior fitment.
- Prevents rework (removing new parts so earlier steps can be done correctly)
- Protects finish (paint, trim, and interior stay clean and undamaged)
- Improves fitment (glass, doors, panels, and seals sit the way they should)
The 2026 build order (high level)
- Plan + measure (define the end goal, inspect, document, confirm key dimensions)
- Metal + structure (rust repair, mounting points, pinch welds, hinge pockets, floors)
- Alignment + gaps (doors, fenders, hood, tailgate/trunk, core support, body mounts)
- Bodywork + paint (blocking, primer cycles, final paint, cure time)
- Glass + seals (fitment checkpoint, not an afterthought)
- Dash + wiring access (do it while you can still reach everything)
- Interior assembly (install “pretty” after the messy work is done)
- Final detail + shakedown (water test, road test, fix what shows up)
Stage 1: Plan + measure (what to buy first)
Before you buy the fun parts, buy clarity. Decide if this build is stock restoration, restomod, pro-touring, or your own blend. This decision directly affects glass choice, sealing strategy, dash layout, and gauges.
Do this first
- Photo walkaround (inside, outside, underbody, door jambs, window openings)
- Measure door gaps and key opening dimensions (write them down)
- List your non-negotiables (stance, comfort, drivability, originality)
- Build a “parts map” (what depends on what)
Fesler-first buys in Stage 1
- Glass plan: decide now if you are going flush-mount and what your sealing standard is
- Gauge plan: pick your instrumentation early (example: Dakota Digital) so your dash layout stays clean
- Interior strategy: choose what you are upgrading later (door panels, trim, detail pieces) so you do not redo holes and mounts
Stage 2: Metal + structure (buy the parts that protect fitment)
This stage is where builds either get easy later or become a cycle of “almost fits.” Structure problems do not get cheaper later. If you care about glass sealing and clean gaps, the windshield opening and door geometry matter more than most people think.
Areas that commonly ruin glass and interior fitment:
- Windshield opening and pinch weld condition
- Hinge pockets, cab corners, floors, rockers
- Core support mounting points and body mounts
- Anything that controls door alignment
What to buy in this stage: repair panels, mounts, bushings, and hardware that restore correct geometry. This is how you avoid paying twice when it is time for glass and interior.
Stage 3: Alignment + gaps (make it straight before you make it pretty)
Do not skip this. Consistent gaps and correct closing doors are what make a build look expensive. This is also the stage that protects your glass install later.
- Doors aligned and latching smoothly
- Fenders and hood aligned with consistent gaps
- Tailgate or trunk aligned (no rubbing)
- Body mounts torqued and consistent
What to buy in this stage: hinges, latches, body mount kits, and alignment hardware that is worn out. These purchases protect paint, glass, and interior.
Stage 4: Bodywork + paint (do not rush cure time)
Paint is where timelines get unrealistic. The cost is not just spraying, it is prep and patience. If you assemble onto fresh paint, you usually pay twice in touch-ups, scratches, and redo labor.
- Finish metalwork and alignment before heavy bodywork
- Confirm final parts decisions that affect holes and mounting points
- Give paint time to cure before final assembly
Fesler note
If you are going flush-mount glass, do not treat it like a last-minute add-on. Plan it before paint is “locked” so your fitment standard and install timing are built into the schedule.
Stage 5: Glass + seals (Fesler priority stage)
Glass can be a simple step or a domino that forces rework. Timing is everything. The right time is after structure, alignment, and paint are right, but before the interior is fully finalized.
Why Fesler prioritizes glass early
- It confirms the opening is correct and consistent
- It affects wind noise, water sealing, and refinement
- It prevents tearing out interior work if anything needs adjustment
Shop Fesler glass: https://www.shopfesler.com/collections/glass
What to buy in this stage: the correct glass setup and sealing components for your build standard. The goal is clean fitment and reliable sealing. Not “we’ll fix it later.”
Stage 6: Dash planning + wiring access (do it while you can still reach everything)
Even if your wiring is handled by a shop, the planning belongs here. This is the phase where you keep the dash serviceable, avoid clutter, and prevent the “we need to remove the interior again” moment.
Brand priority: Dakota Digital
If you are upgrading instrumentation, choose it now. Dakota Digital planning affects sensors, routing, and dash layout. Doing this early keeps your interior clean and avoids backtracking.
Shop Dakota Digital: https://www.shopfesler.com/collections/dakota-digital
- Finalize gauge and dash layout before final interior assembly
- Plan access points (future serviceability matters)
- Keep routing clean and protected
Stage 7: Interior (install “pretty” last, then enjoy it)
Interior is where money disappears if you have to redo it. Keep the interior for after paint, glass, and dash access work are stable. That is how you protect your investment and keep the build feeling high-end.
Interior order that avoids rework
- Dash completion and any remaining access work
- Sound and heat management (optional)
- Carpet, then panels, then seats
- Final trim and finishing pieces
Fesler interior upgrades
This is where Fesler interior parts shine. Door panels and interior upgrades are the “finish the build” move. Install them after the messy steps so they stay clean and stay aligned.
Shop Interior: https://www.shopfesler.com/collections/interior
Stage 8: Final detail + shakedown (plan on finding issues)
Every build needs a shakedown phase. The goal is catching issues quickly and fixing them right: squeaks, rattles, minor leaks, alignment tweaks, and small electrical gremlins.
- Water test after glass and seals
- Road test for wind noise and rattles
- Re-check panel alignment after miles
- Fix small issues before they become redo issues
The fast answer: what should you buy first?
Buy the parts that enable fitment before the parts that decorate the build. For most 2026 builds, your smartest early purchases and decisions look like this:
- Glass + seals strategy (especially flush-mount planning) before interior is final
- Dakota Digital (or your gauge brand) plan before dash is “finished”
- Interior upgrades after paint and glass are stable so you do not reinstall
Shop the priorities: Glass • Dakota Digital • Interior
FAQ
When should I install glass during a classic car build?
After structure and alignment are correct and after paint is complete (and has had appropriate cure time), but before the interior is fully finalized. This prevents tearing out interior work if adjustments are needed.
What causes people to “pay twice” during a build?
Installing parts before foundation steps are done. Common mistakes include finishing interior too early, installing trim onto fresh paint, treating glass like a final detail, or skipping alignment and discovering fitment issues later.
Is build order different for trucks vs muscle cars?
The sequence is basically the same. The pain points change (cab corners and doors on trucks, quarter panels and trunk alignment on cars), but the logic stays identical: structure, alignment, paint, glass, dash access, interior, then detail.
What should I prioritize from Fesler if I want the least rework?
Plan your glass and sealing strategy early (especially flush-mount), decide your dash and gauge plan early (Dakota Digital is a common choice), and keep interior upgrades for after paint, glass, and dash access work are stable.

Leave a comment
This site is protected by hCaptcha and the hCaptcha Privacy Policy and Terms of Service apply.