Troubleshooting • Classic Cars & Trucks • Interior Protection
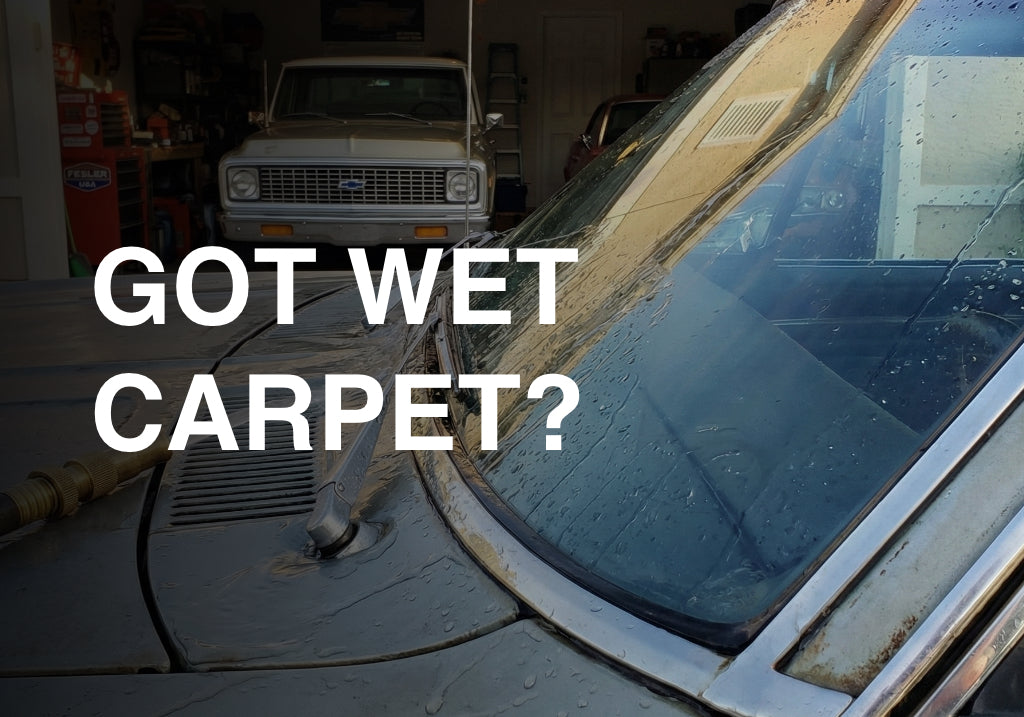
Wet Carpet in Your Classic? Windshield Leak vs. Cowl Leak (Quick Tests + Real Fixes)
Finding wet carpet in a classic car is one of those problems that feels small… until it turns into mold, rust, and a musty interior that never smells right again. The good news: most “mystery water” issues come from a handful of predictable places. Here’s the quickest way to figure out whether you’re dealing with a windshield leak, a cowl leak, or something else entirely, plus the fixes that actually last.
Quick note: This guide is written for enthusiasts who want a solid diagnosis without guesswork. If you find heavy rust at the windshield frame/pinch weld, stop and address that before you “seal” anything. Sealer is not a structural repair.
Step 1: Identify what’s wet (this matters more than you think)
Passenger floor soaked
Very commonly points to the lower windshield corners, a cowl seam/drain issue, or the heater box/fresh air intake.
Driver floor soaked
Often a mirror of the passenger side causes, plus cowl-to-firewall seams and pedal/column pass-through grommets.
Wet at the top of the kick panel / under dash
That’s a big clue for cowl leakage, fresh-air ducting, or a windshield edge leak running behind trim.
Carpet damp but floor pan dry
Could be condensation, a heater core issue, or water wicking through old padding. Confirm with the tests below.
Step 2: Do the 10-minute “controlled hose test”
Don’t blast the car with a pressure nozzle. You want to mimic rain, not a car wash. Grab a flashlight, paper towels, and a friend. One person sits inside and watches; the other runs water slowly in specific zones.
Test sequence (do in this order)
- Windshield perimeter: Start at one lower corner and slowly trace the edge. Watch for drips behind the dash/kick panel.
- A-pillars + roof line: Move upward along the A-pillar and top edge (especially on cars with trim or old gasket seals).
- Cowl area: Run water lightly across the cowl vent region at the base of the windshield (do not flood it, just a steady sheet).
- Door glass + vent window area (if applicable): Rule out window sweeps/vent seals that drip onto the kick panel.
- Firewall / heater box zone: Lightly wet the intake area (where fresh air enters) and watch for water trails inside.
Pro move: sprinkle talcum powder on suspect seams inside the car (or use dry paper towels taped in place). Water tracks show instantly.
How to tell a windshield leak from a cowl leak
Signs it’s a windshield leak
- Water appears when you wet the glass edge or lower corners.
- Drips form behind the dash close to the A-pillar.
- Moisture shows around trim clip holes or old sealant lines.
- Leak worsens at highway speeds or after body flex (classic “seal isn’t bonded” symptom).
Signs it’s a cowl leak
- Leak starts when you wet the cowl vent area (base of windshield), not the glass edge.
- Water shows up under dash near fresh-air ducting or along the firewall seam.
- Passenger side gets hit first (common), then driver side over time.
- Car sat outside and the cowl drains clog, then the cowl “fills” during rain.
Reality: Some cars have both. A small windshield edge leak can run down and look like a cowl leak. That’s why the controlled hose test (zones, one at a time) is the fastest way to be sure.
The fixes that actually hold up
If it’s the windshield perimeter
The real fix is almost never “smear silicone around the trim.” That’s a temporary band-aid and it often makes proper repair harder later. What works long-term is addressing bonding, surface prep, and rust at the seal area.
- Inspect the pinch weld: look for rust scale, old adhesive, uneven surfaces, and clip holes that wick water.
- Correct sealant approach: use the right materials for your glass style and install method (and don’t mix random products).
- Fix the surface first: clean metal, prime properly, and repair any rust-through before reinstalling or re-sealing.
If it’s the cowl
The cowl is designed to take in air and shed water. When drains clog or seams fail, water goes where it shouldn’t: your carpet. The fix depends on whether it’s a drain blockage, seam failure, or rusted cowl structure.
- Clear drains: remove debris, confirm water exits freely (not into the cabin).
- Inspect seam sealer: old seam sealer cracks with age and heat cycles.
- Address rust: if the cowl is perforated, you’re in repair/patch territory, not “seal it and hope.”
Protect your interior while you diagnose: pull the floor mat, lift the carpet edge, and dry everything out. Wet padding can hold water for days and keep feeding rust even after the leak stops.
Common “it’s not the windshield or cowl” causes
Heater core / HVAC
If the fluid smells sweet or feels slick, it may not be water. Confirm coolant level and look for dampness at the heater box.
Door/vent window seals
Water can drip down the inner door and end up at the kick panel. Check window sweeps, vent seals, and door drains.
Firewall pass-throughs
Missing grommets around wiring, cables, or column seals can leak during rain or wash, especially when the cowl fills up.
Rear window / trunk leaks
Water can migrate forward under carpet/padding. If the rear floor feels damp, check rear glass, trunk seal, and tail light housings.
Why this matters for your build (and your parts)
A leak you ignore doesn’t just ruin carpet. It quietly wrecks the “finished” feel of a build: foggy glass, funky smells, rust creep, electrical gremlins, and padding that never truly dries. Diagnose it once, fix it correctly, then move on to the fun stuff.
If you’re refreshing the interior after fixing a leak, that’s where Fesler comes in. We build parts for classic trucks and muscle cars that help finish the build the right way, with fitment and detail that hold up in the real world.


Leave a comment
This site is protected by hCaptcha and the hCaptcha Privacy Policy and Terms of Service apply.