
1978–1988 G-Body Flush-Mount Glass Kit — DOT, Trimless, American-Made (Pre-Order)
1978–1988 GM G-Body — DOT-Certified Flush-Mount Glass Kit — Front Windshield and Back Glass — Trimless, Rubberless, Urethane Bonded — American-Made — Pre-Order
Why Fesler · What's Included · Fitment · Installation · Shipping · FAQs
Why Fesler Flush-Mount Glass for the G-Body
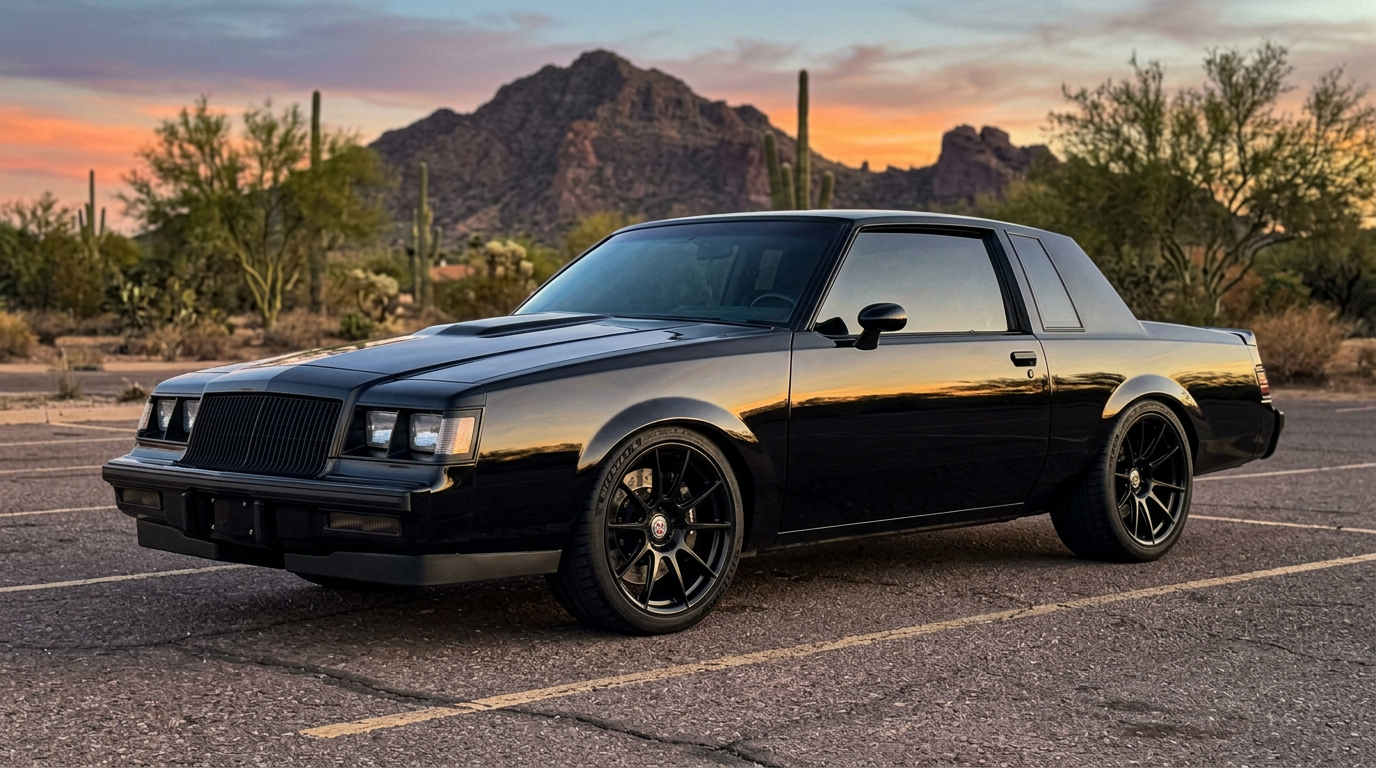
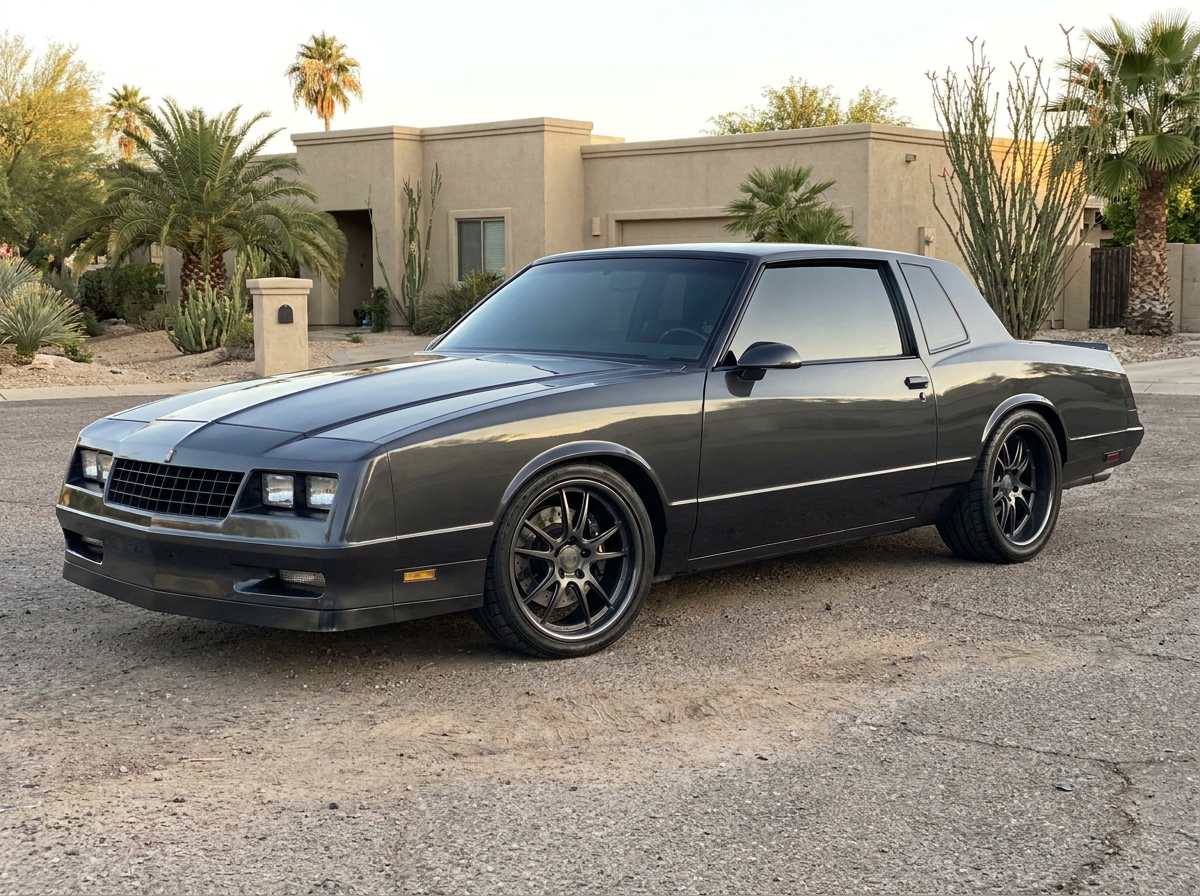
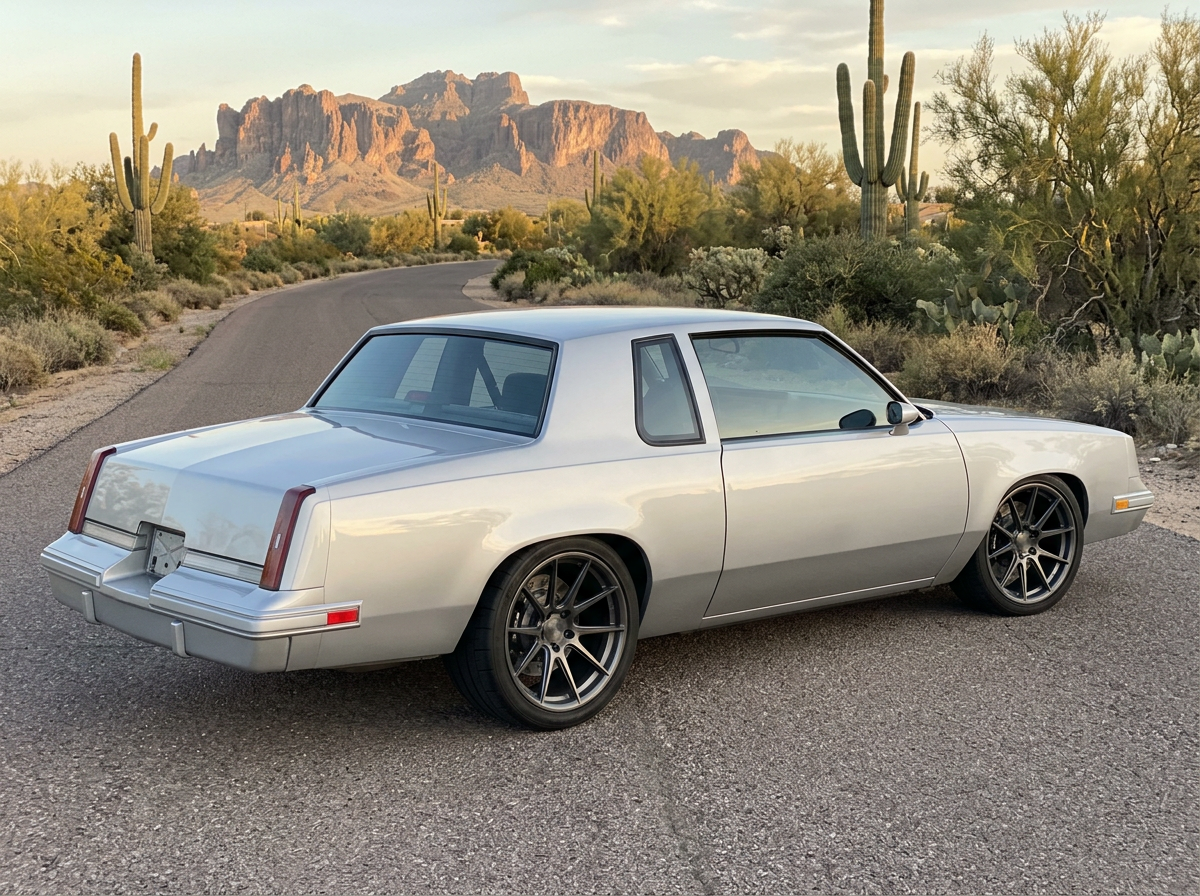
Nobody makes flush-mount, trimless glass for the 1978 to 1988 GM A/G-body. We looked. Monte Carlo SS, Grand National, Regal T-Type, Cutlass Supreme, Grand Prix: every one of them still wears a factory rubber gasket and a chrome reveal molding, because no glass company ever tooled this platform. Fesler is tooling it now, to the same DOT-certified specification as the flush glass kits we ship today for the Camaro, Chevelle, Nova, Mustang and C10.
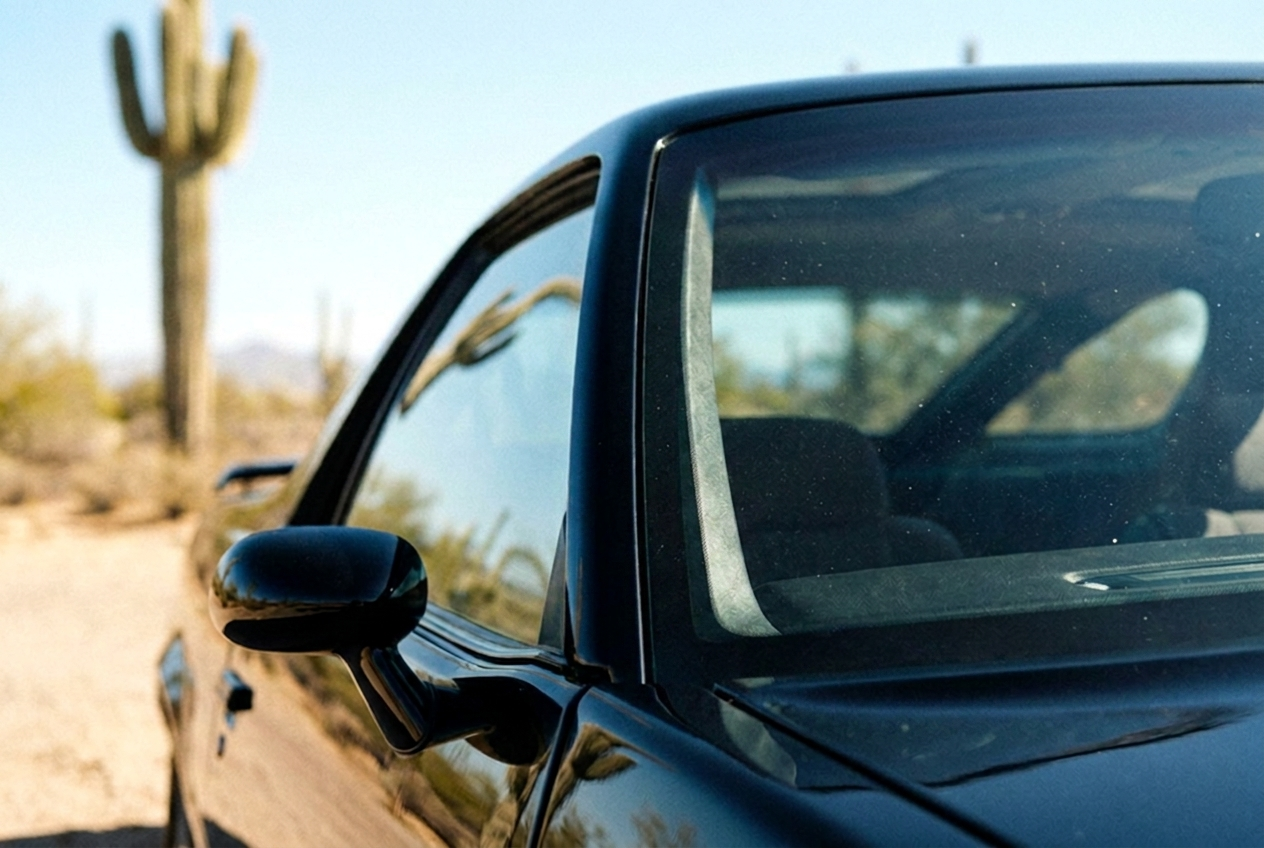
Flush-mount glass deletes the trim and the gasket entirely. The glass bonds directly to the pinch weld with urethane, the way every modern car is built, so paint runs into glass in one continuous line. On a G-body the difference is dramatic: the roofline reads a decade newer while the body stays untouched steel.
What's Included
Front & Rear kit: DOT-certified laminated flush-mount windshield plus tempered flush-mount back glass, built for bonded installation with no exterior trim. Front Only and Rear Only options are available for staged builds. Quarter glass is in the program and its tooling order is being set by sign-ups on the G-body program page.
Fitment
This kit is being tooled for the GM A/G-body platform, 1978 to 1988, including the Chevrolet Monte Carlo and Monte Carlo SS, Buick Regal, T-Type and Grand National, Pontiac Grand Prix and LeMans, and Oldsmobile Cutlass Supreme, 442 and Hurst/Olds two-door bodies. The two-door windshield interchanges across the platform under one part number. Back glass year coverage and T-top cars are being verified against real cars now, and the published fitment matrix goes live before the first kit ships. No fitment claim is published before it is verified.
Installation
Fesler flush glass installs the way modern glass installs: the old trim, gasket and glass come out, the opening is prepped, and the new glass is urethane bonded to the body. Most customers have an auto glass shop handle the bond. Plan glass around paint, since the trim delete exposes the full window opening.
Shipping
Kits ship freight in a custom crate once production begins. Pre-order customers receive tooling updates, the final announced price, and a shipping window directly by email before anything is billed for freight or leaves the shop.
FAQs
When does it ship?
The program is in tooling. Fesler does not publish ship dates it cannot verify. Pre-order customers hear every milestone first, directly.
Is the price final?
No. Pre-order pricing is anchored to Fesler's current car platform kits and final pricing will be announced before the first kit ships. You will be contacted with the final price before anything ships.
Is it street legal?
Yes. The glass is built to the same DOT-compliant laminated and tempered specification as every flush kit Fesler ships today.
What about T-tops and the Aerocoupe?
Both are on the verification register. T-top cars get answered front and rear separately, and the Aerocoupe back glass decision is still open. Sign up on the G-body program page and you hear the answer the moment it exists.
Not ready to commit?
Join the G-body list on the program page. Your model and year help set which car gets tooled first, and you get the drop alert when parts go live.
Builder trusted.
Kevin Schiele, shop foreman at Kindig-It Design and co-host of MotorTrend's Bitchin' Rides, on Fesler flush-mount glass. Kindig-It has been building world-class custom rides out of Salt Lake City for 25+ years.
Fitment.
Our glass is engineered and manufactured by Pilkington, an OEM glass producer that supplies new vehicles sold today. Same float-glass process. Same tolerances. Made on the same kind of production line that builds glass for modern cars rolling off dealer lots right now. This is real automotive glass, not import stock resized to approximate fit.
On a properly prepared body, it drops in. The reality with classic cars: these vehicles are 50 to 70 years old. Decades of accidents, racing, repaints, and subtle sheet-metal shifts mean some openings have moved over time. The glass is the constant. Your car's opening is the variable. Minor adjustment or light bodywork is occasionally part of a real classic build, and that's true for any precision part going on a 60-year-old car.
Plan glass into the bodywork phase, not after final paint.
Where are you in your build?
Build timing matters. Here's a quick read on where flush-mount glass fits into your build sequence, and what to expect at each stage.
Shell on the rotisserie, planning the build. Order your glass now and bring it into your bodywork plan. The opening can be massaged to spec while the body is still in metal stage.
Doors and fenders hung, panels gapped, primer or pre-paint stage. Test fit your glass now, identify any opening corrections, and address them before final paint goes down.
Body and paint complete, working through interior and final assembly. Test fit early. If the opening needs adjustment, you'll want to address it before bonding glass to fresh paint.
Twelve steps. Three phases.
Prep & Remove
Protect the vehicle, remove the original glass, clean the channel down to bare metal, and remove the factory clips. The four steps before any new glass touches the body.
Test Fit & Bond
Test fit with 3/8" fuel line, clean the new glass, prime the frit band, lay urethane, and set the windshield. The make-or-break sequence that determines fitment, seal, and final reveal.
Cure & Finish
Support the glass through overnight cure, then optionally fill the body gap with weatherproof silicone for a clean, debris-free finished look. Don't drive or pressure-wash early.
Critical install rules.
Always urethane, never butyl
Urethane systems hold 600+ psi. Butyl holds 60. There is no comparison.
Use proper urethane primer
Prime the frit band and let it dry. Skipping primer puts your windshield at risk of slipping loose.
No glass cleaner on the bond area
Standard glass cleaner reacts with urethane primer and prevents proper bonding.
Test fit before bonding
Use 3/8" fuel line in the channel to simulate urethane and verify fit and gap before committing.
Never touch primed surfaces
Skin oils prevent urethane from sticking. Apply, let it dry, leave it alone until you set glass.
Cure overnight before driving
Don't drive or pressure-wash for 24 to 48 hours minimum after install. Refer to your urethane manufacturer's spec.
Who sets the glass?
Certified Glass Technician
We strongly recommend professional installation by an NGA or AGRSS certified glass technician. The windshield is a structural safety component, providing up to 60 percent of a vehicle's roof crush protection and supporting airbag deployment.
Certified techs have the urethane systems, primers, suction tools, and bonding experience to deliver a weather-tight, structurally sound install. Bring this product page or our resource hub to your installer ahead of the appointment so they have the full reference.
Experienced Builder
Fesler glass can be installed by a skilled, experienced builder who understands urethane chemistry, has done glass work before, and has a helper on hand. This is not a first-time project.
If you're going DIY: read the Tips & Tricks PDF cover-to-cover, work through every step in our install resource hub, use the right urethane and primer for your conditions, and have someone on standby to help you set the glass.
Everything you need to install right.
Official Tips & Tricks PDF
The full 7-page install reference with photo examples of common defect-vs-not-defect situations, warnings, and detailed walkthrough imagery. Send it to your installer ahead of the appointment.
View The DocumentFull Install Resource Hub
Stage-based FAQ for every step of your build, defect reference, troubleshooting guides, and 27 in-depth articles from beginner basics to platform-specific deep dives.
Visit Install HubQuestions about your specific build, opening condition, or installer? Talk to the people who make the glass.
Call or text the shop · 480-748-2000 Mon–Thu · 8am–5pm MST · Phoenix, AZ
Read the full PDF.
The official Fesler Glass install reference with photo examples of common defect-vs-not-defect situations, urethane warnings, and detailed walkthrough imagery. Read it here, open it in a new tab, or download it to send to your installer.
Best viewed full-screen
On mobile, tap "Open in New Tab" above to read the full Tips & Tricks PDF, or "Download PDF" to save it and send it to your installer.
Trusted by the best.
Want to see Fesler glass on your build's portfolio? Get in touch with the shop.
480-748-2000