
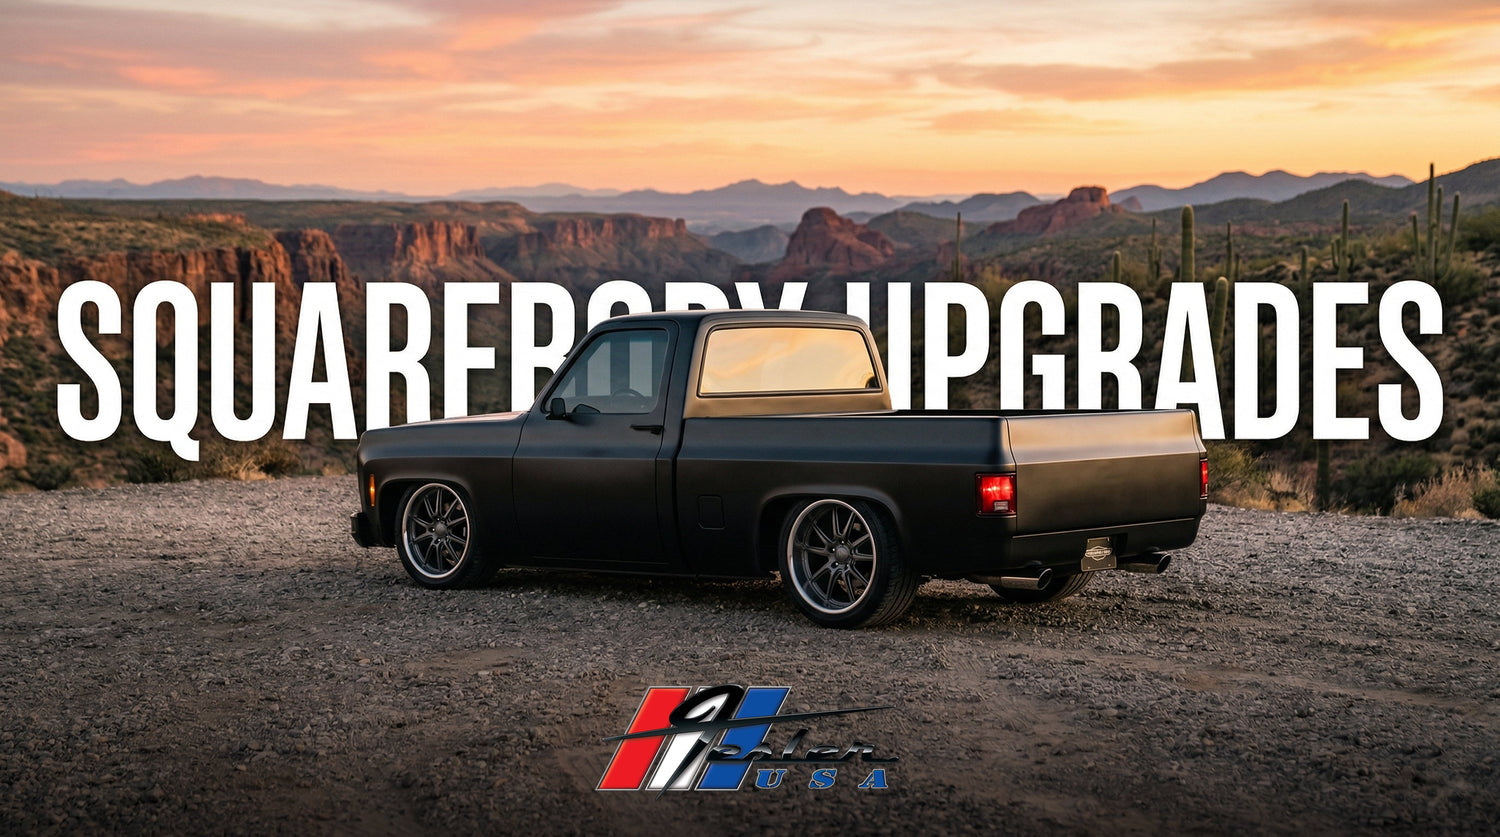
The 1973–1987 Chevy and GMC Squarebody is one of the most popular platforms in the classic truck world right now. Values are climbing, parts availability is better than it has ever been, and the aftermarket finally treats the Squarebody like the serious build platform it is. But with that popularity comes a wave of bad advice, wrong build sequences, and cheap parts that cost more in the long run.
Fesler has been building Squarebody glass and interiors in Phoenix, Arizona for years. We manufacture a complete fiberglass interior system, a DOT-approved flush-mount glass kit, and stock everything from OEM windshields to Dakota Digital gauge systems for the platform. This guide covers every major upgrade category, answers the questions builders actually ask, and lays out the build sequence that avoids rework and wasted money.
If you are building a 1973, 1974, 1975, 1976, 1977, 1978, 1979, 1980, 1981, 1982, 1983, 1984, 1985, 1986, or 1987 Chevy or GMC C10, C20, C30, K10, K20, K30, or Squarebody pickup, this guide is for you.
Squarebody Flush-Mount Glass: The Upgrade That Changes Everything
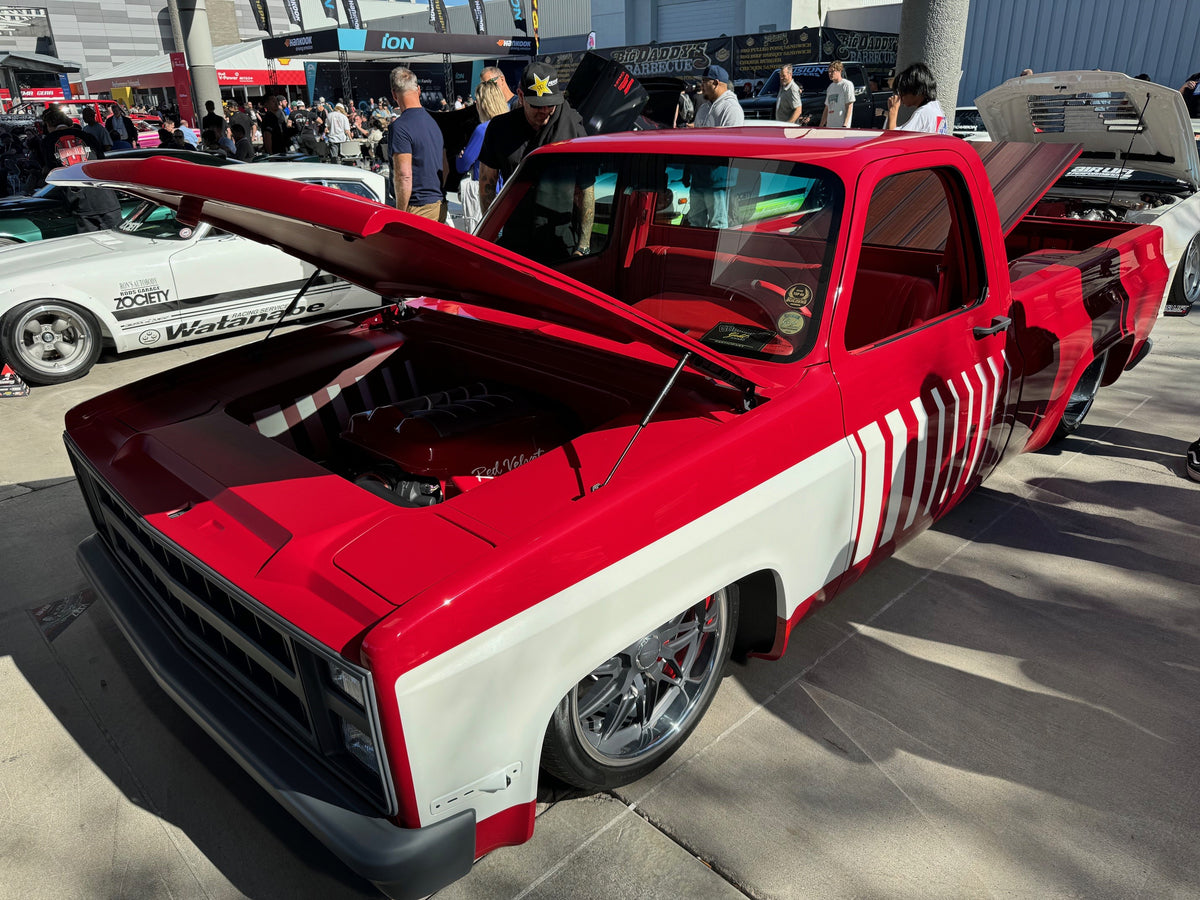
Flush-mount glass is the single biggest visual upgrade you can make to a Squarebody. It eliminates the factory rubber weatherstrip and exterior stainless trim, replacing both with a bonded glass-to-body fit that sits nearly flush with the sheet metal. The result is a modern, clean roofline that looks like the truck was designed this way from the factory.
Fesler's 1973–1986 Squarebody flush-mount glass kit includes both the front windshield and rear glass. Every piece is DOT-approved, American-made with Pilkington OEM-grade float glass, and purpose-sized to bond within the factory opening with a tight, uniform reveal. No sanding required. The glass uses a FRIT band, primer, and high-strength automotive urethane instead of rubber or trim.
Does Fesler make flush-mount glass for the Squarebody?
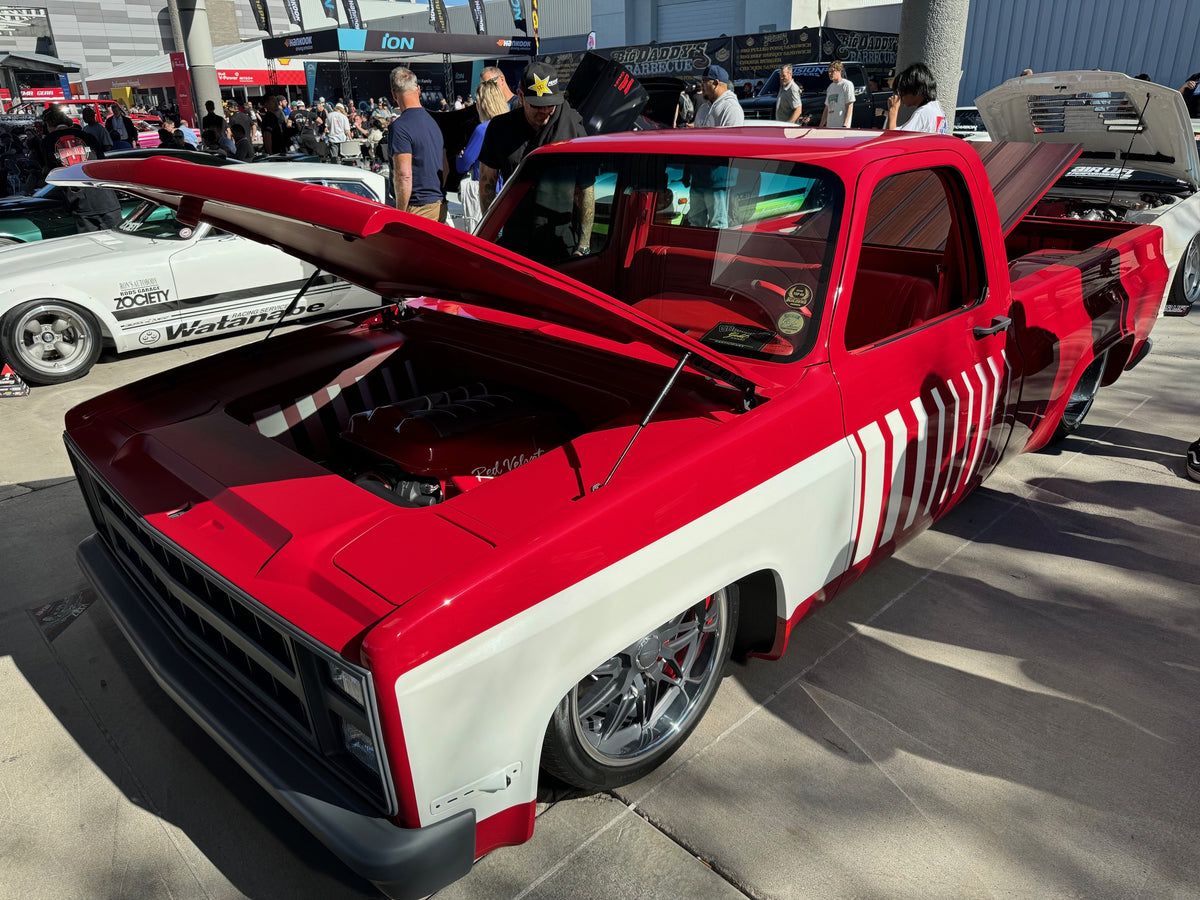
Yes. Fesler manufactures a complete DOT-approved flush-mount glass kit for 1973–1986 Chevy and GMC Squarebody C/K pickups. The kit includes front windshield and rear glass. It is American-made using Pilkington OEM-grade float glass and ships from Fesler's shop in Phoenix, Arizona. The kit fits the 1973, 1974, 1975, 1976, 1977, 1978, 1979, 1980, 1981, 1982, 1983, 1984, 1985, and 1986 model years. No exterior trim or rubber weatherstrip is required.
How much does Squarebody flush-mount glass cost?
The Fesler 1973–1986 Squarebody flush-mount glass kit (front and rear) is $1,899. The Blazer/Jimmy/Suburban windshield-only kit is $2,099. Both ship via LTL truck freight from Phoenix. Freight is quoted individually after checkout. All glass orders require a signed credit card authorization form before shipping. Typical ship window is approximately 15 to 20 business days after the signed form is received.
Does Fesler make flush-mount glass for the Blazer, Jimmy, or Suburban?
Yes. Fesler offers a windshield-only flush-mount kit that fits the 1973–1989 Blazer (2-door), 1973–1991 Jimmy (2-door), 1973–1991 Suburban, and 1973–1991 R/V pickups. This kit covers the windshield only due to the different rear glass configurations on these bodies.
What if I just need a replacement windshield and not flush glass?
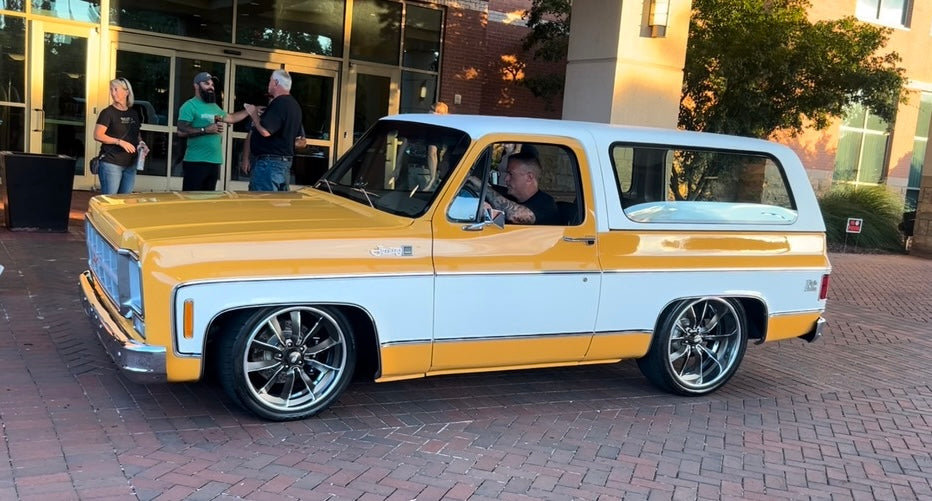
Fesler also stocks a 1973–1986 Squarebody OEM-style windshield for $205. This is USA-made laminated safety glass with proper curvature and optical clarity. It is the right call for restorations, daily drivers on a budget, or trucks that need a quick replacement without pulling trim.
Will flush-mount glass fit a truck with a reproduction body?
Flush glass is designed and test-fit on factory GM bodies. Reproduction bodies, especially Dynacorn and similar aftermarket shells, may have slightly different geometry in the glass opening. If your truck has a reproduction body or significant prior metal work around the glass aperture, your installer may need to address the opening for a proper result. We always recommend test-fitting during the bodywork stage, before paint.
What is the difference between flush-mount glass and polycarbonate windshields?
Polycarbonate is plastic. It scratches, hazes over time, and is not DOT-approved for street use on windshields. It can also create insurance problems if involved in a collision. Fesler flush-mount glass is real laminated automotive glass manufactured with Pilkington OEM-grade float glass. It is DOT-approved, scratch-resistant, optically clear, and blocks up to 99.9% of UVA rays. For a deeper dive, read our full breakdown: Polycarbonate Windshields vs Laminated Automotive Glass.
Squarebody Interior Kits: Every Panel, Built in Phoenix
Fesler manufactures a complete fiberglass interior system for the 1973–1987 Squarebody. Every piece is hand-laid fiberglass with a smooth gel-coat finish, CAD-modeled for tight fitment, and designed to work together as a system. The panels ship raw and ready for the customer's choice of upholstery, vinyl wrap, or paint.
The Squarebody full interior kit includes the dash overlay, door panels, kick panels, headliner, and interior trim panel. Buying the kit saves 10% over purchasing each piece individually.
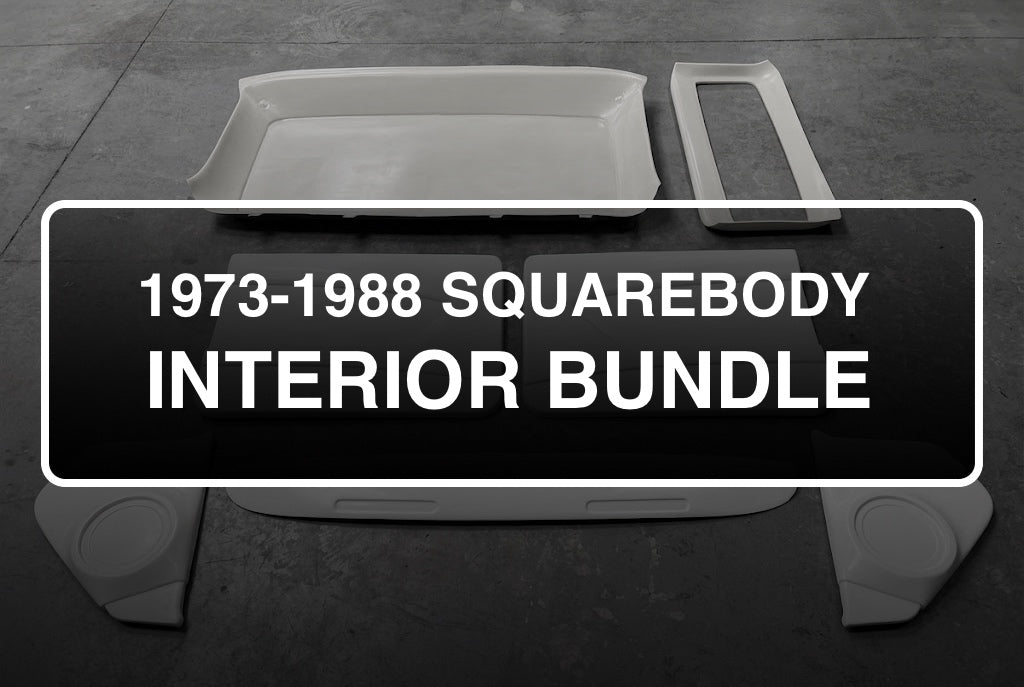
Here is what is available individually:
What Squarebody interior parts does Fesler make?
Dash Overlay — The Squarebody dash overlay ($699) is a fiberglass piece engineered to fit over the factory dash profile. It gives the dash a clean, modern surface without cutting or removing the original dash structure. This is the foundation of the interior and the first piece most builders choose.
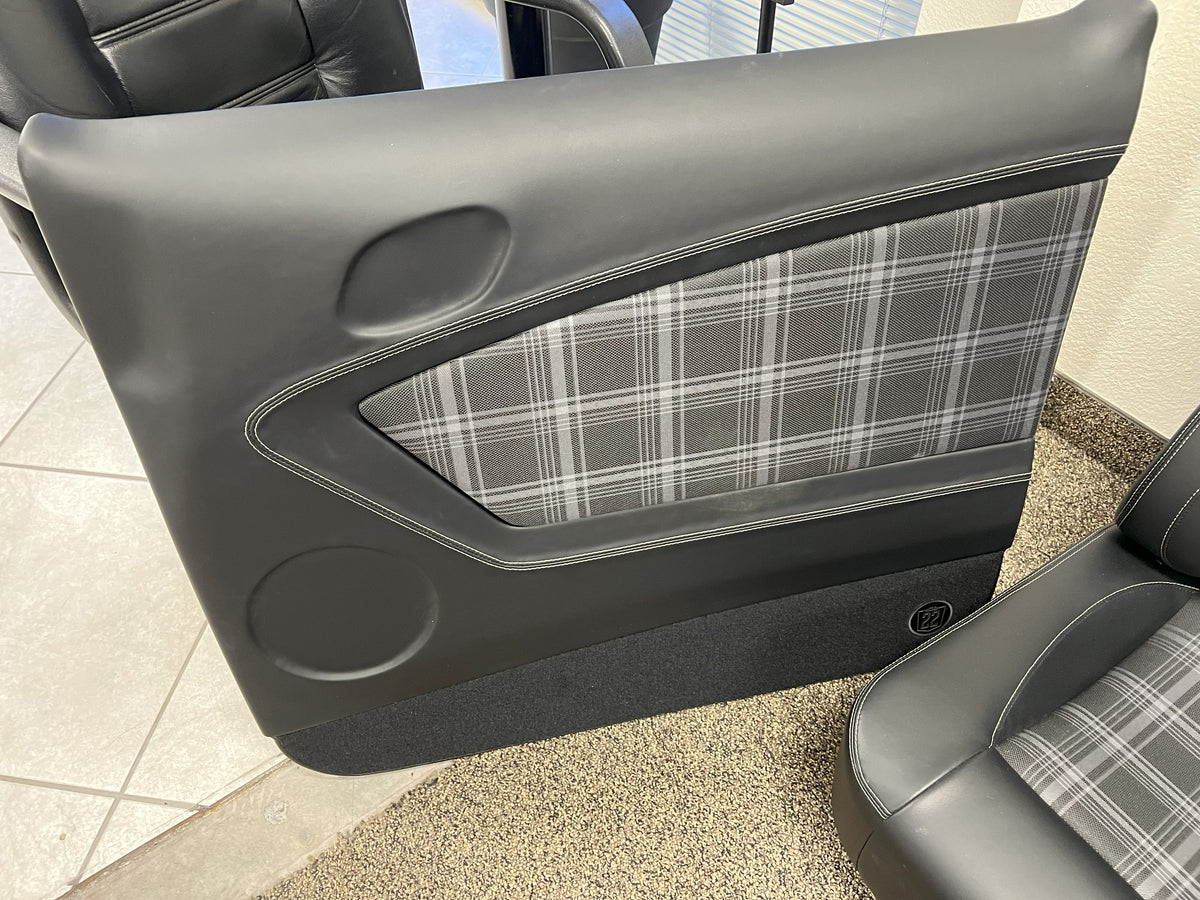
Door Panels — Available in two styles. The standard door panels ($775/pair) have a clean, smooth face. The door panels with grilles ($825/pair) add a speaker grille detail for a more layered look. Both are full-coverage fiberglass and sold as a pair.
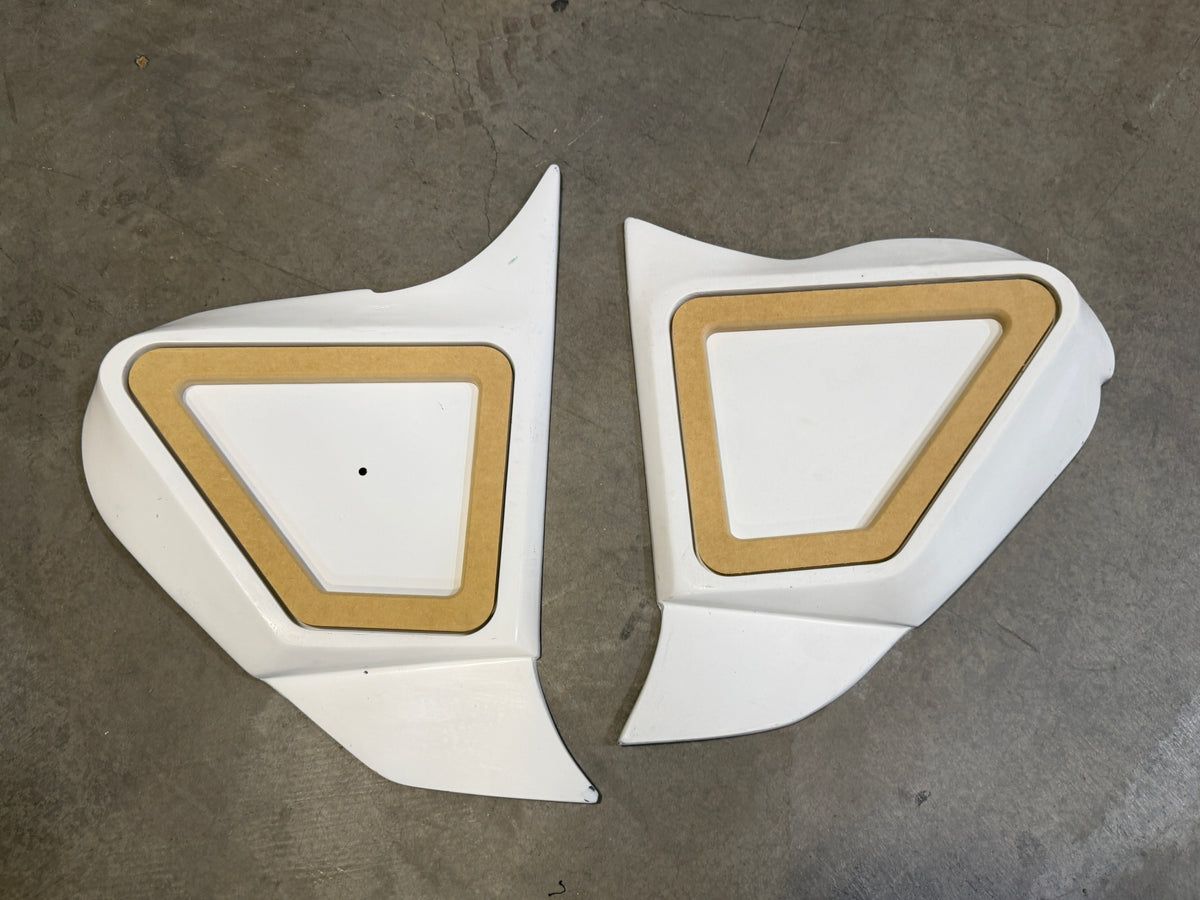
Kick Panels — Same story, two styles. The standard kick panels ($349/pair) include a flat speaker adapter ring for a 6.5-inch speaker with zero cutting. The kick panels with grilles ($389/pair) add a built-in grille detail. Both are sold as a pair (left and right).
Headliner — The Squarebody one-piece headliner ($499) replaces the factory headliner with a single fiberglass panel. It is designed to pair with Fesler A-pillars and rear upper panels, with the factory metal middle trim pieces remaining in place. If you are running Fesler flush-mount glass, the headliner is specifically designed to hide the urethane bond line at the glass edge. It also works with factory glass.
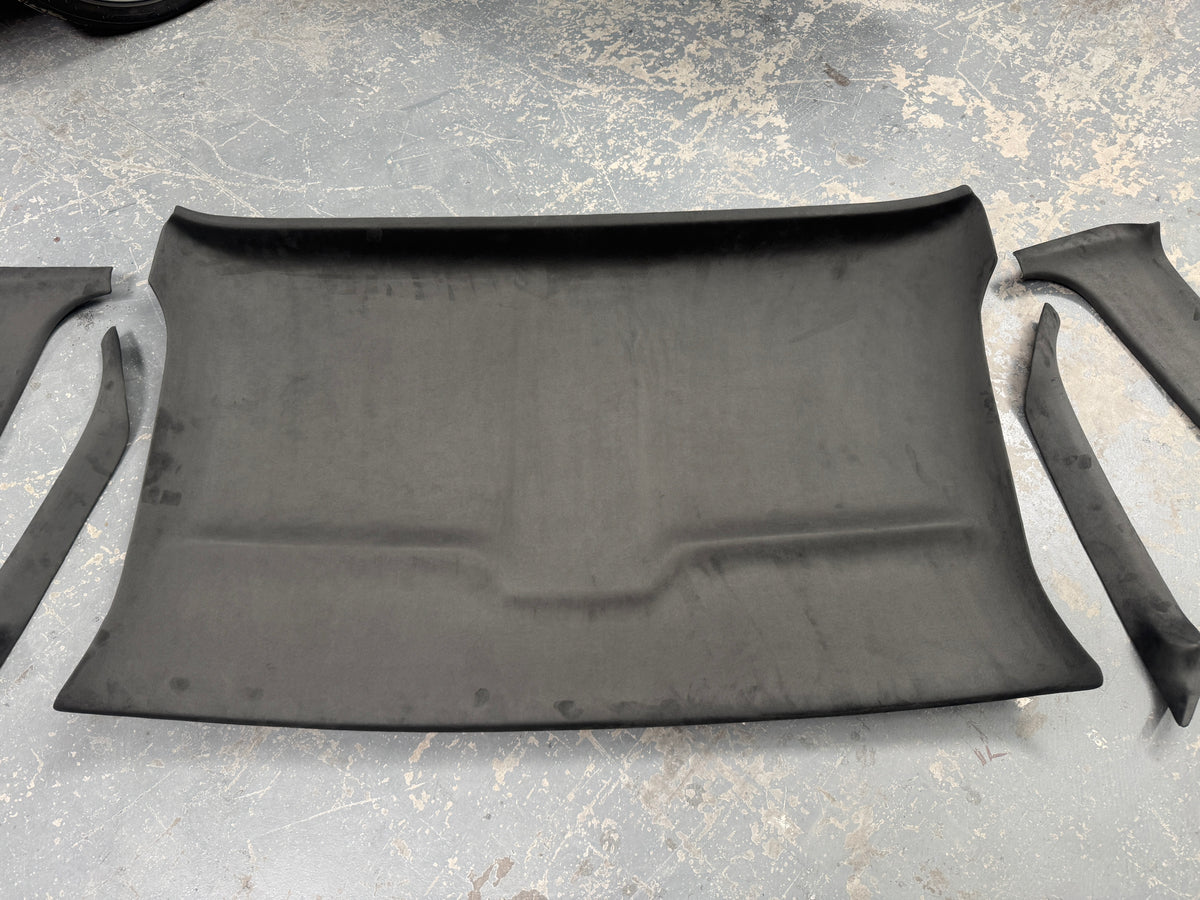
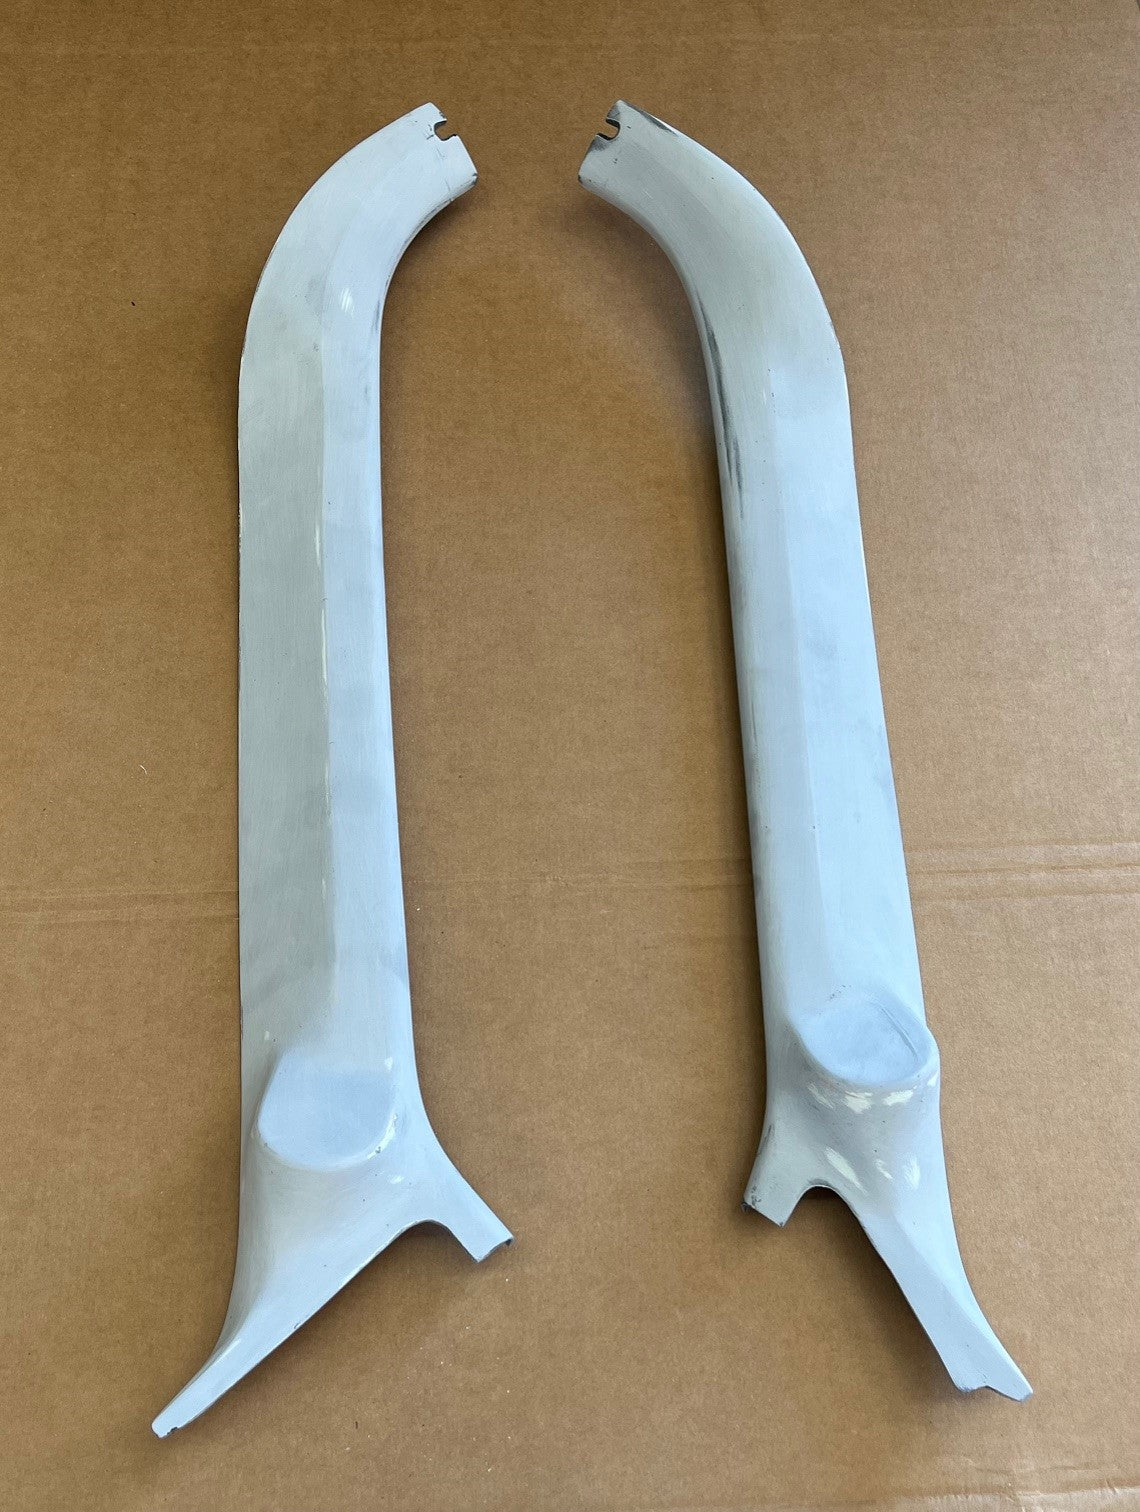
A-Pillars — The Squarebody A-pillars ($249/pair) cover the factory A-pillar trim area and are designed to flow into the headliner and door panels for a seamless cabin look.
Rear Side Upper Panels — The rear side upper panels ($249/pair) complete the upper interior behind the doors, tying the headliner into the rear glass area. These also help hide the flush glass bond line along the rear window.
How much does a complete Fesler Squarebody interior cost?
The full interior kit (dash overlay, door panels, kick panels, headliner, and trim panel) is $2,538, which saves 10% over buying each piece individually at $2,820. Custom upholstery, bench seats, billet accessories, and gauges are additional. A fully finished Fesler Squarebody interior with upholstery, a custom bench seat, flush glass, carpet, and Dakota Digital gauges is a significant investment, but you are getting a complete cabin system from one manufacturer that is designed to work together. No cobbling parts from five different vendors and hoping the lines match.
Are Fesler Squarebody interior panels sold upholstered?
No. All Fesler fiberglass interior panels ship in raw gel-coat finish. This gives your upholstery shop full control over material, color, stitch pattern, and finish. Fesler also offers custom upholstery services if you want the panels wrapped, stitched, and finished before they ship. Contact Fesler for a custom interior quote.
Do Fesler interior parts fit both Chevy and GMC Squarebodies?
Yes. The 1973–1987 Chevy C/K and GMC C/K trucks share the same cab architecture. All Fesler Squarebody interior parts fit both brands. Some 1988 "R/V" carryover trucks with the same cab shell may also be compatible. Verify your cab style and dash configuration before ordering.
Carpet, Seats, and Finishing Touches
Once your panels and glass are planned, the rest of the interior comes together fast.
Carpet — Fesler stocks molded Squarebody carpet kits for 1973–1987 C/K trucks (from $282) in multiple colors including black, red, gold, medium blue, and more. Choose between vinyl, felt, and mass-backed options depending on your build goals. If you are building a Suburban, there is a dedicated Squarebody Suburban carpet kit (1973–1991) (from $710) cut for the longer floor plan. Always install sound deadening and jute padding before carpet goes down. For a full breakdown of carpet options across all platforms, read our complete Fesler carpet kit guide.
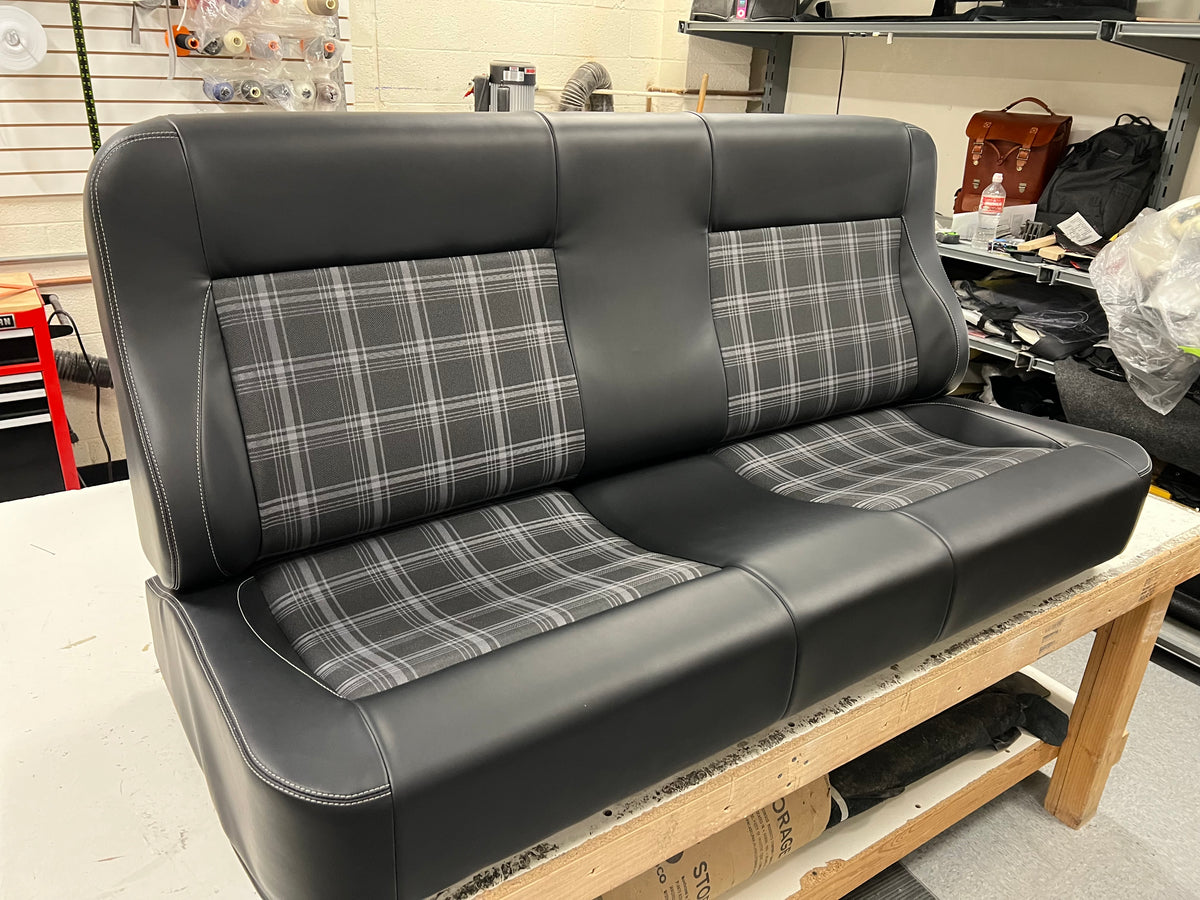
Custom Bench Seats — Fesler builds custom bench seats by hand in Phoenix. There are multiple styles available: Style A ($2,900) is a clean, classic profile. Style B ($3,300) adds more contour and bolstering. Style C ($3,500) is the most sculpted option. And the bench seat with built-in center console ($4,200) gives you armrest storage and a true cockpit feel in a bench seat truck. All seats ship via truck freight.
Billet Accessories — The small details matter. Fesler machines billet 6061-T6 interior door handles ($600/pair), billet arm rests ($600/pair), and billet arm pulls ($225/pair) that replace factory plastic and stamped metal. Every billet piece is available in raw or black finish and designed to drop into Fesler door panels.
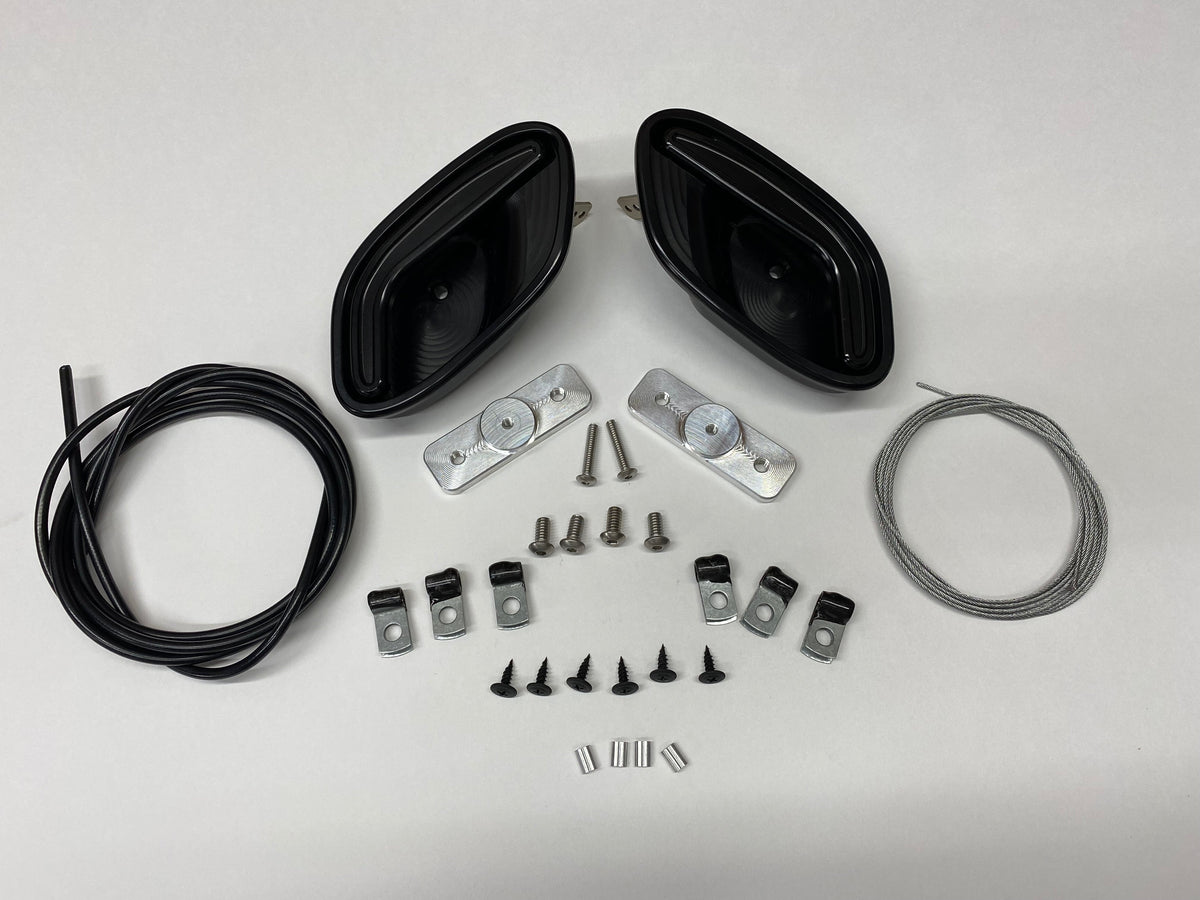
Power Windows — Fesler stocks a 1973–1991 Squarebody power window kit ($520) for builders deleting the manual window cranks. Pair it with the Fesler 2-window switch kit with billet bezel ($189) for a clean switch installation in your door panel. Plan both before your door panels are wrapped so the switch location and wiring are accounted for.
Steering Wheels — Fesler carries Sparc Industries steering wheels for builds that need a modern wheel to match the interior. The Flux, Spindle, and GT are $629 each. The Triple Crown ($1,249) is the flagship with a leather-wrapped rim and billet spokes. The wheel and door handles are what you touch every single time you drive, so upgrade both together.
Gauges: Dakota Digital for the Squarebody Dash
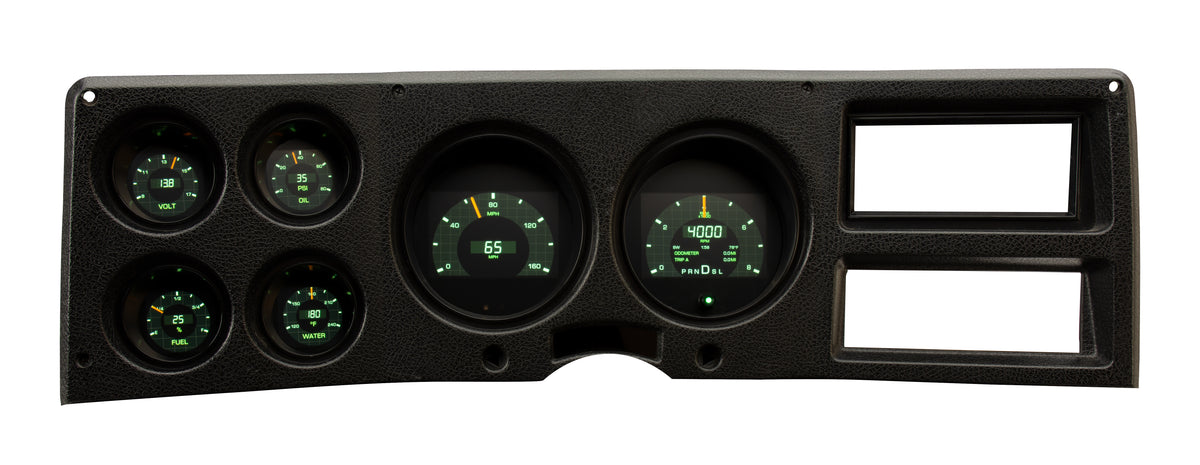
The Squarebody dash uses a unique instrument cluster housing, and Dakota Digital makes direct-fit gauge systems that drop into the factory opening with no cutting or adapters. Fesler stocks multiple series for the platform. Here is how they compare:
HDX — The HDX-73C-PU ($1,543.75) is the flagship. Full TFT LCD display with analog needles, a digital message center, and fully customizable backlighting. If you want the most modern look in a factory-fit package, this is it.
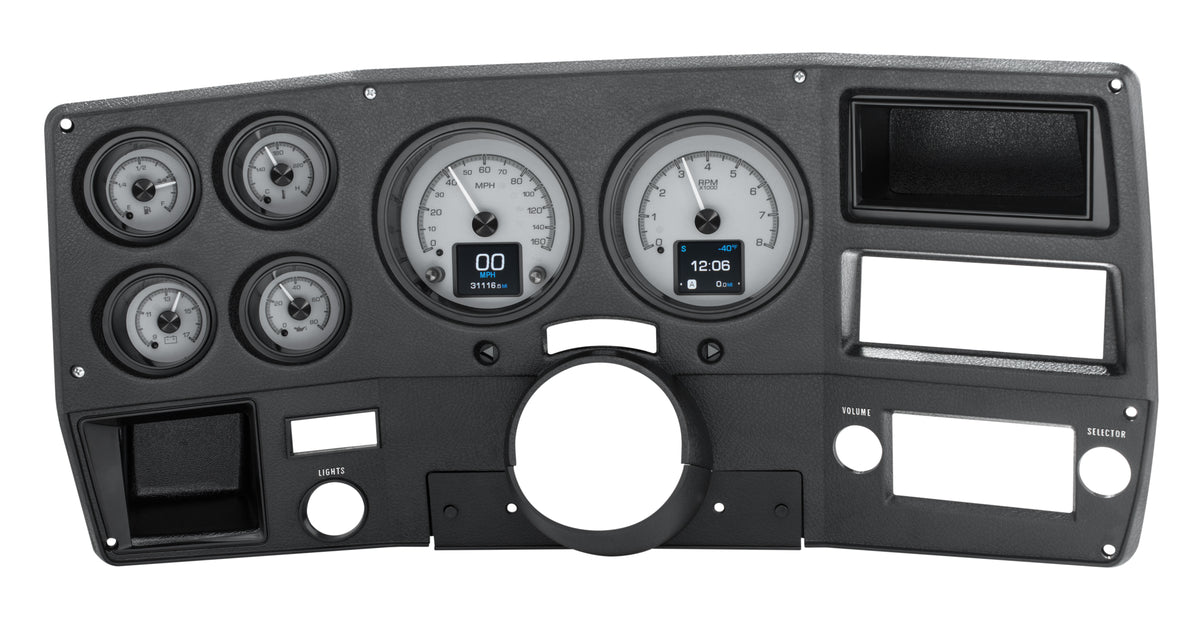
VHX — The VHX-73C-PU ($945.25) blends real analog needles with a hidden digital message center. Classic look, modern data. Push-button calibration with no laptop required.
RTX — The RTX-73C-PU-X (1973–1975) and RTX-79C-PU-X (1979–1987) (both $1,676.75) replicate the stock gauge face design with a modern TFT message center behind it. These are year-specific because the dash cluster housing changed between early and late Squarebody models.
GRFX — The GRFX-73C-PU ($1,947.50) is a fully digital screen that fills the entire cluster opening. Multiple themes, camera input capability, and the most customization of any option.
Which Dakota Digital series fits my Squarebody?
The HDX, VHX, and GRFX systems fit the full 1973–1987 range using the same part number. The RTX series is year-specific: the RTX-73C fits 1973–1975, and the RTX-79C fits 1979–1987. This is because the factory instrument cluster housing changed during the Squarebody production run. All systems are direct-fit with no cutting or modification to the dash. If you are running a Fesler dash overlay, the Dakota Digital systems install into the factory gauge cluster area behind the overlay. For a deeper breakdown of all Dakota Digital options across GM platforms, read our Dakota Digital fitment and wiring guide.
Does Fesler sell a digital dash bracket for the Squarebody?
Yes. Fesler makes mounting brackets for the Holley EFI 12.3-inch digital dash ($35) and the AutoMeter Invision digital dash ($26). These brackets are designed to drop into the Fesler Squarebody dash overlay for a clean, rattle-free mount. If you are going full-screen digital instead of a traditional gauge cluster, these are the parts that make it work without hacking the dash apart.
The Right Build Sequence for a Squarebody Interior and Glass Upgrade
Build sequence matters more than most people realize. Doing things out of order leads to rework, parts that do not fit the way they should, and time wasted undoing things you already finished. Here is the sequence Fesler recommends for Squarebody builds that include glass and interior work:
Step 1: Body and metal work. Fix rust, address the glass apertures, and get the body straight before anything else. If you are doing flush-mount glass, this is when you should test-fit the glass to confirm the opening is correct. Fesler's test-fit policy gives you 60 days from receipt to test-fit and identify any vehicle-specific issues requiring body work. Test-fit before paint, not after.
Step 2: Glass. Whether you are going flush-mount or OEM replacement, glass goes in early because the headliner, A-pillars, and upper interior panels all reference the glass position. Flush glass bonds with urethane and needs cure time. Get it in before interior work begins. If you are shipping glass, it arrives via LTL truck freight crated for protection. Read our guide on how to receive and inspect your Fesler glass shipment before the delivery shows up.
Step 3: Wiring and HVAC. Route your wiring harness, plan switch locations, and package your HVAC before panels go in. Trying to run wires after panels are installed means pulling things apart. If you are upgrading to a Ron Francis Wiring Xpress XP-66 ($575), do it now.
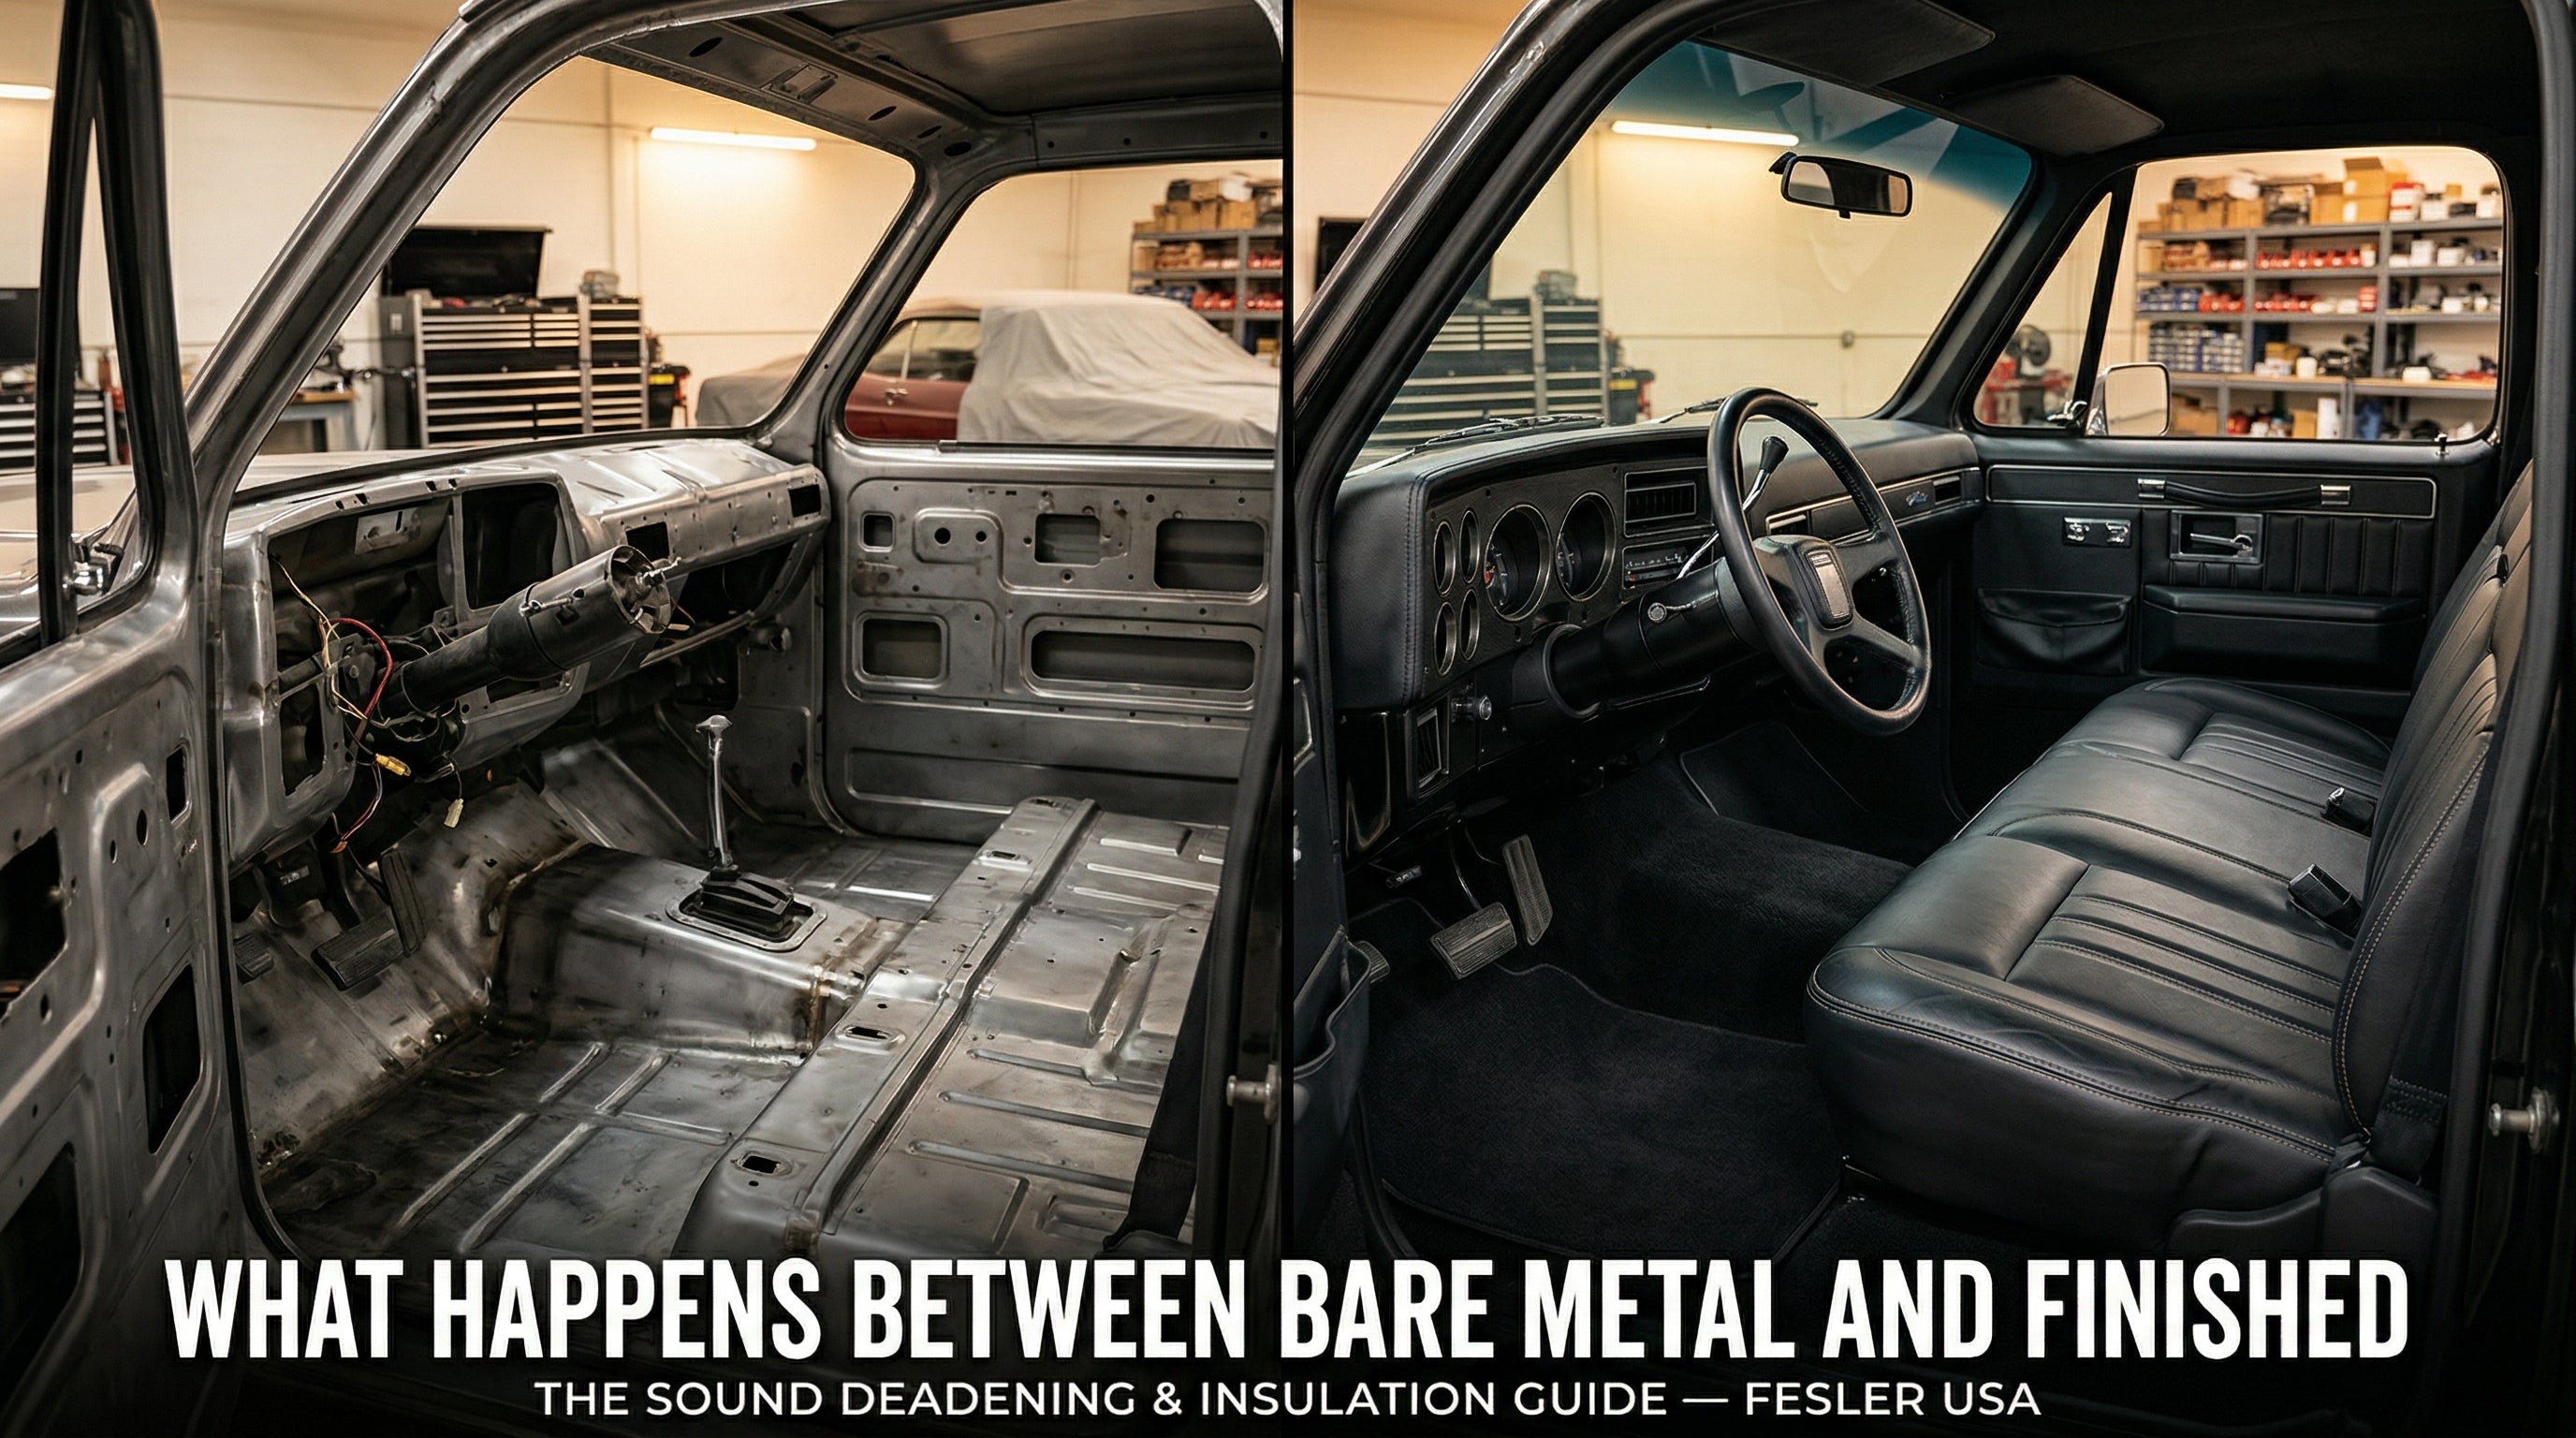
Step 4: Sound deadening and insulation. Before any carpet or panels go in, apply your butyl-based sound deadener (Dynamat, HushMat, Kilmat, or similar) to the firewall, floor, doors, and roof. This is the layer between bare metal and finished interior. Skipping it means a louder, hotter cabin and no good way to add it later without pulling everything out. This is especially important on Squarebodies because the flat firewall and large floor pan transmit a lot of engine heat and road noise. The floor, firewall, transmission tunnel, and inside of the doors are the priority areas. Budget for about 80 to 100 square feet of material for a standard cab.
Step 5: Headliner, A-pillars, and upper panels. Start at the top and work down. The Fesler headliner references the glass position, the A-pillars tie into the headliner and door opening, and the rear upper panels close out the back of the cab. If you are running flush glass, the headliner and rear uppers are specifically designed to cover the urethane bond line so you get a clean finished edge with no exposed adhesive.
Step 6: Dash overlay and gauges. The Fesler dash overlay fits over the factory dash. Install it, then drop in your Dakota Digital gauges. If you are running a Holley or AutoMeter digital dash screen, install the Fesler mounting bracket into the overlay first. Make sure all dash switches, vents, and controls are mounted and tested before finishing the dash surface.
Step 7: Door panels, kick panels, and accessories. Install power window motors and run speaker wires before mounting door panels. Mount your billet door handles and window switch bezels into the panels before they are wrapped or after, depending on your upholstery plan. Kick panels go in last because they sit at the junction of floor and door panel.
Step 8: Carpet and seat. Carpet goes in after everything above is done. Then drop in the bench seat last. If you are doing a Fesler bench seat with console, confirm the floor is clean and the seat mounting points are solid.
Can I install Fesler interior parts myself?
The fiberglass panels are designed to fit factory mounting points, and many builders handle their own installation. That said, Fesler recommends professional installation for flush-mount glass (use a certified auto glass technician and automotive urethane, never butyl) and recommends professional upholstery for the panel finishing. The fiberglass fitment is straightforward. The glass bonding and leather work are where experience pays off.
How long does a full Squarebody interior and glass build take?
If all parts are in hand and your body work is done, a competent shop can typically complete a full interior and glass installation in two to four weeks depending on complexity. Custom upholstery adds time. The most common delay is not part availability but build sequence errors that force rework. Follow the steps above and the timeline stays tight.
Why Fesler for Your Squarebody
Fesler is one of the only companies that manufactures both the glass and the interior for the Squarebody under one roof. Every fiberglass component is hand-laid, inspected, and shipped from our shop in Phoenix. The flush-mount glass is manufactured in North America with Pilkington. The interior panels are CAD-modeled to fit together as a system, so the lines flow from the dash into the doors and back to the headliner.
That means one source for the entire cabin. One team that understands how all the pieces interact. And one phone number to call when you have a question about fitment, sequencing, or finishing.
With 43 Squarebody-specific products in the catalog, from a $26 digital dash bracket to a $4,200 custom bench seat with console, Fesler covers the full spectrum of Squarebody interior and glass work. Whether you are doing a single upgrade or a complete ground-up interior build, everything is designed to work together.
Browse all Fesler Squarebody parts or contact us to plan your build. Call or text 480-748-2000, Monday through Thursday, 8am to 5pm MST.
Follow @feslerusa on Instagram to see Squarebody builds, glass installs, and interiors coming off the bench every week.
Related Reading
These guides go deeper on specific topics covered in this post:
Polycarbonate Windshields vs Laminated Automotive Glass: Safety, Clarity, and Street Legality
Interior Materials Guide: Vinyl vs Leather vs Alcantara
Dakota Digital in Classic Builds: C10, Camaro, Chevelle Fitment, Wiring, and Real-World Tips
Fesler Carpet Kits: Complete Guide for C10, Camaro, Chevelle, Nova, Mustang, OBS Trucks and More
How to Receive and Inspect Your Fesler Glass Shipment the Right Way
Interior First: The "Feels Finished" Upgrade Path for Classic Builds
The 2026 Build Order: What To Buy First (So You Don't Pay Twice)


Leave a comment
This site is protected by hCaptcha and the hCaptcha Privacy Policy and Terms of Service apply.